


Contents
- What are T Hinges?
- How to Choose T Hinges
- Tools Required
- How to Fit T Hinges to a Ledge & Brace Door
- How to Fit a Ledge & Brace Door to a Frame Using T Hinges

What are T Hinges?
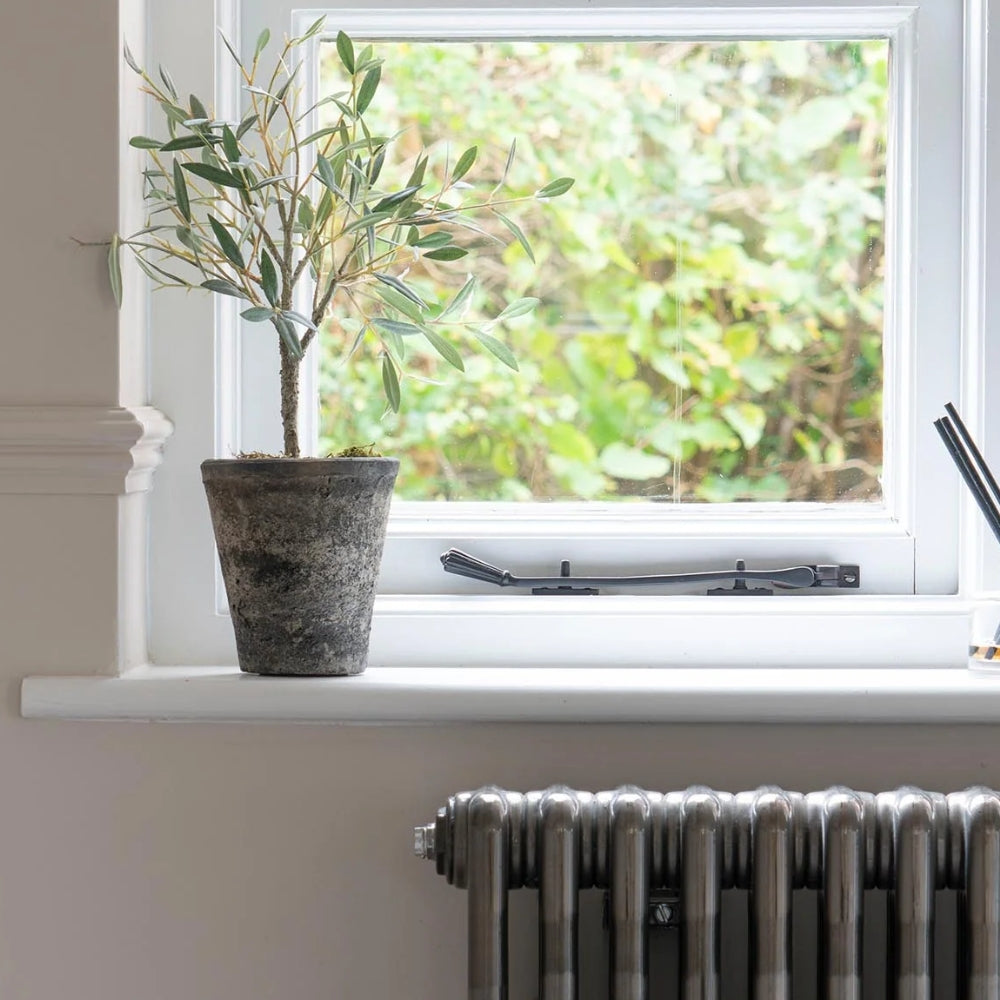
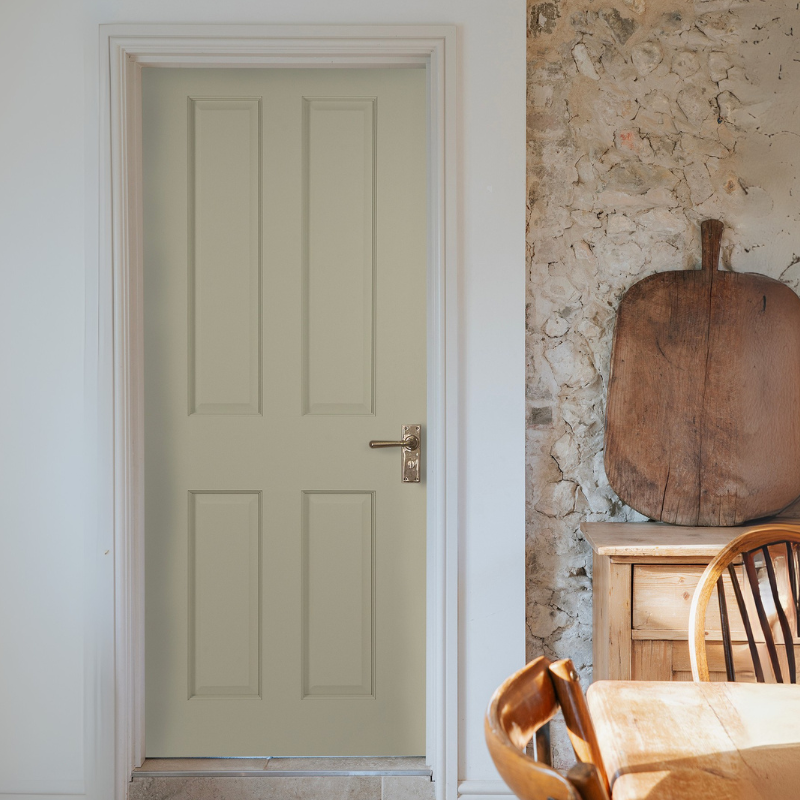
Named after their horizontal "T" shape, T hinges are a classic design often found in farm houses, barn conversions, and country cottages. Their popularity is rising, becoming a staple piece in more contemporary and traditional properties alike.
The length of the strap gives T hinges an excellent load capacity and looks wonderful on ledge and brace plank doors.
How to Choose T Hinges
First, you'll need to consider the size of your hinges. This depends on the size and weight of your door. Traditionally, the strap would span across 2/3rds of the width of the door, but as long as it reaches at least halfway it should be able to support the weight.
Two hinges are normally used, but if you have particularly heavy doors, you may want to add a third hinge. If you're unsure what your door needs, talk to your joiner/carpenter, or get in touch with us for more advice.
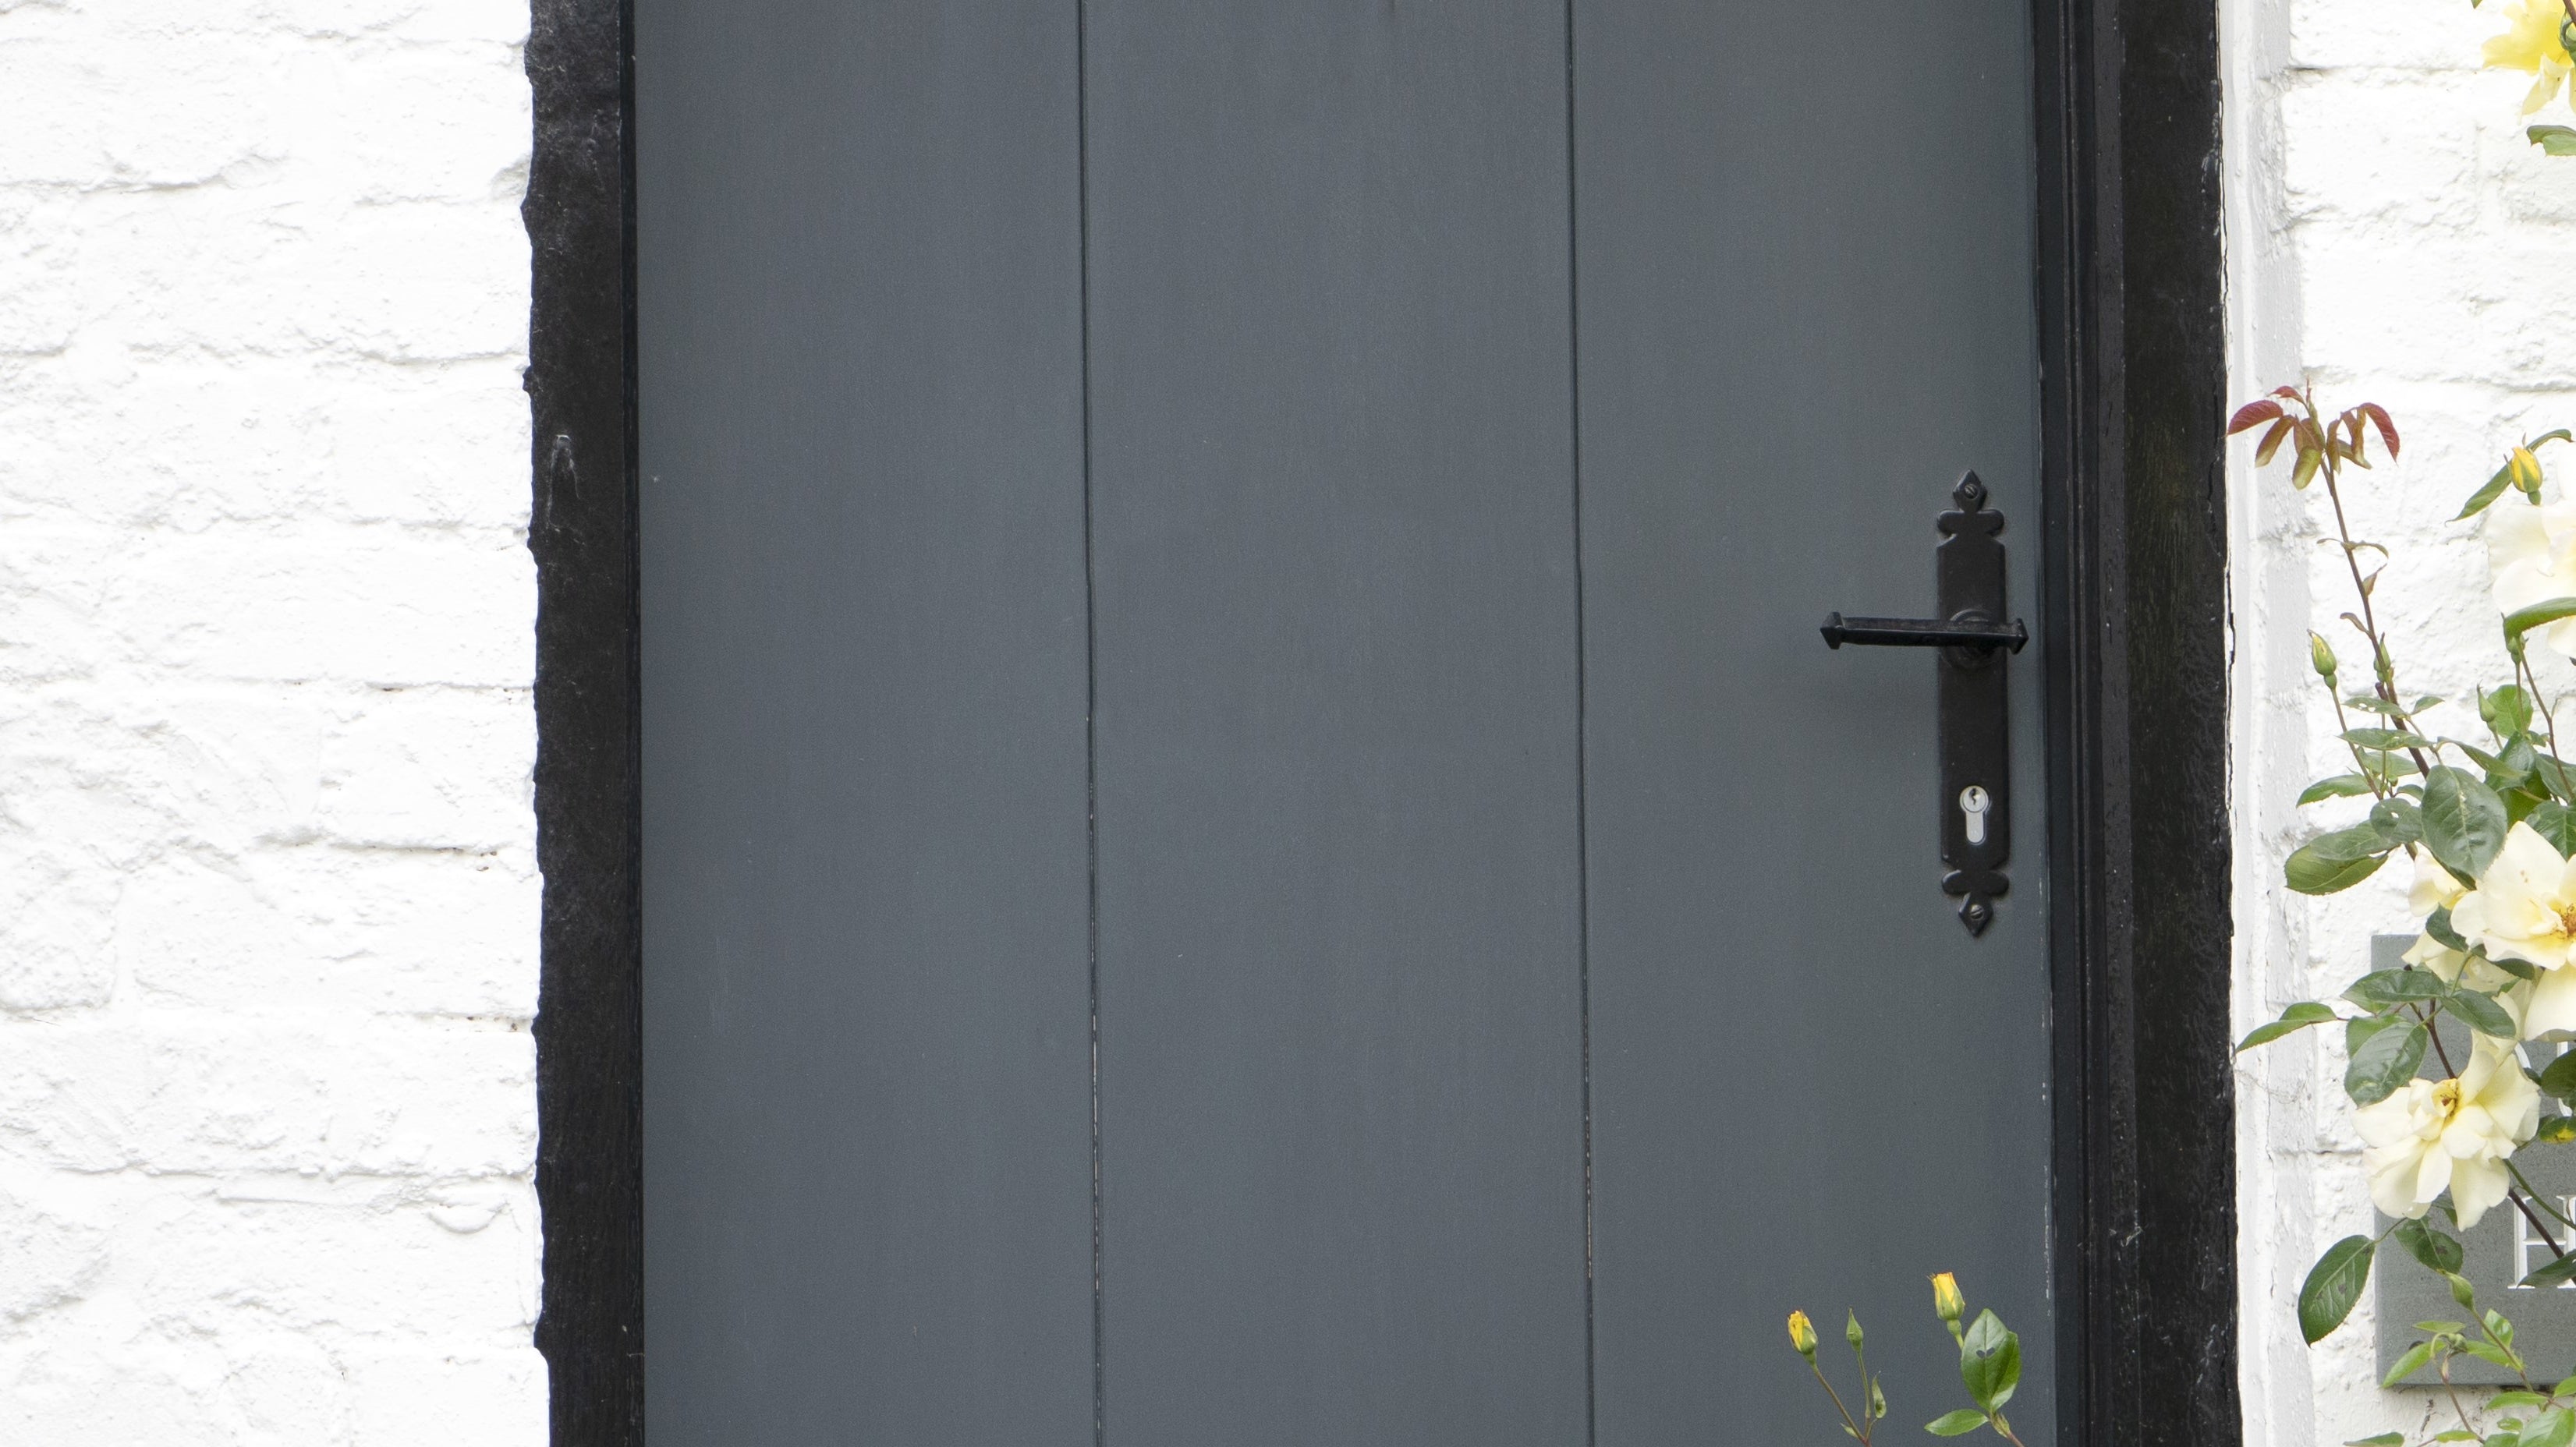
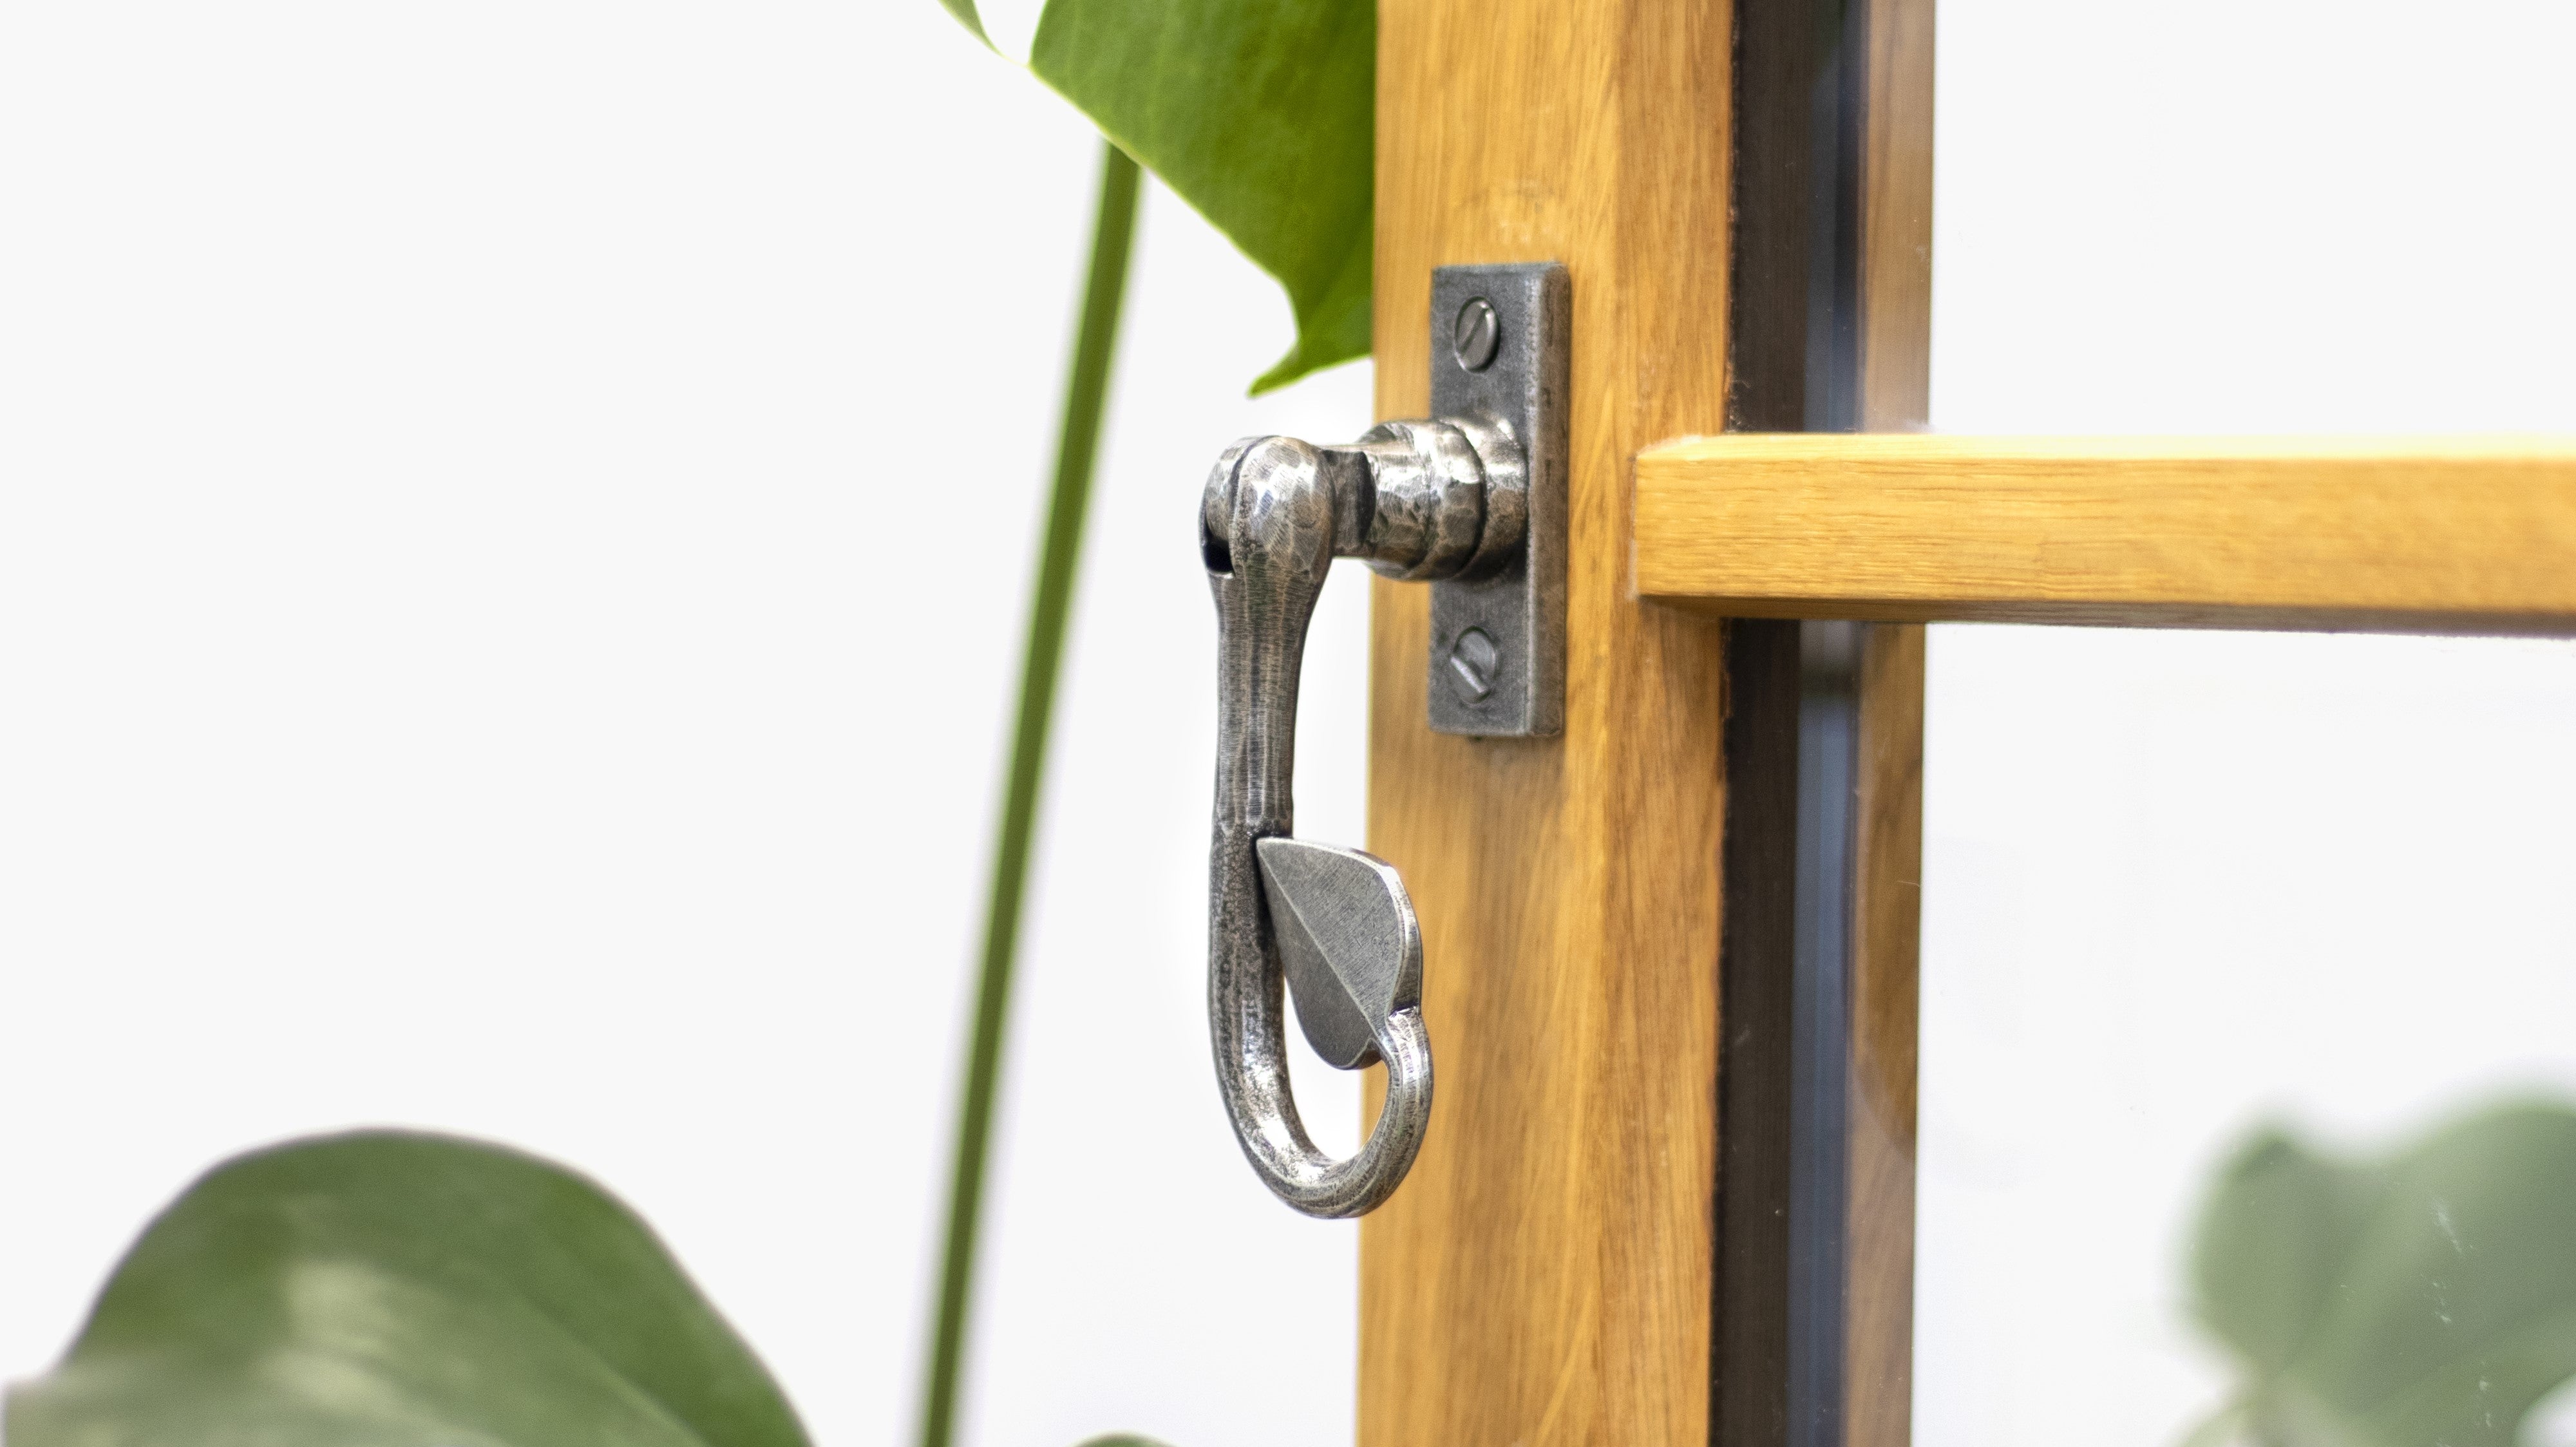
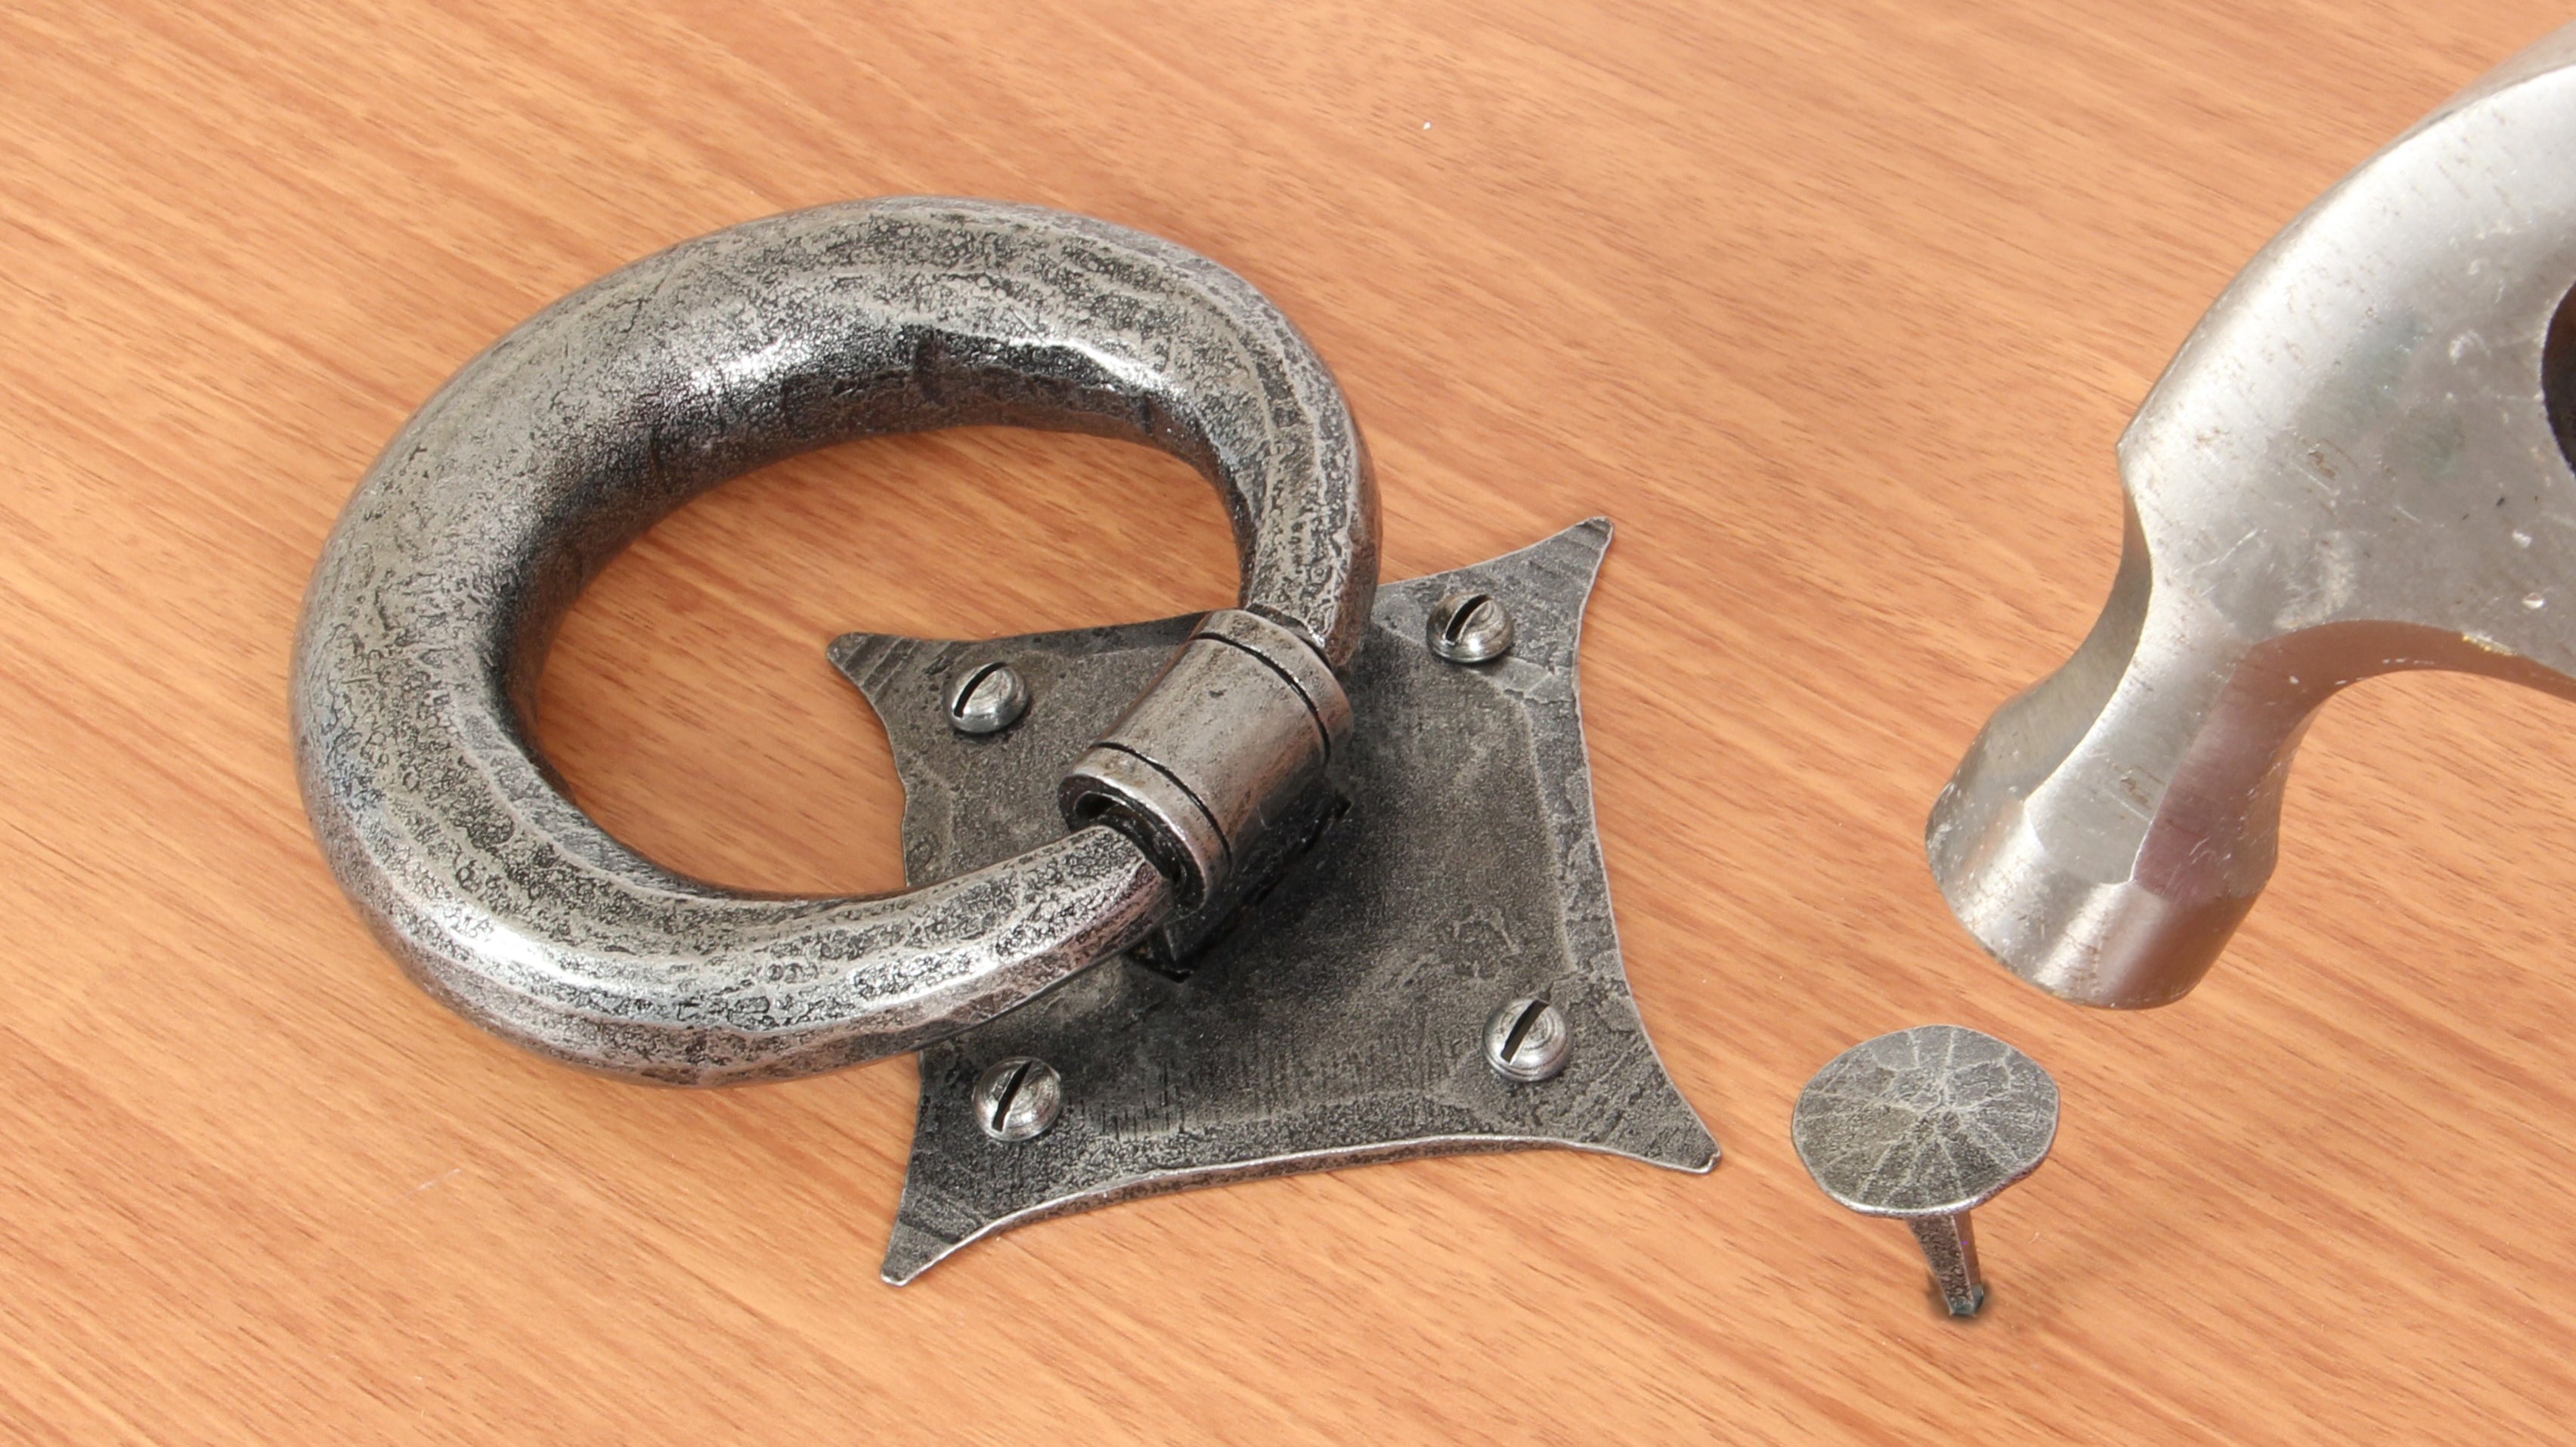
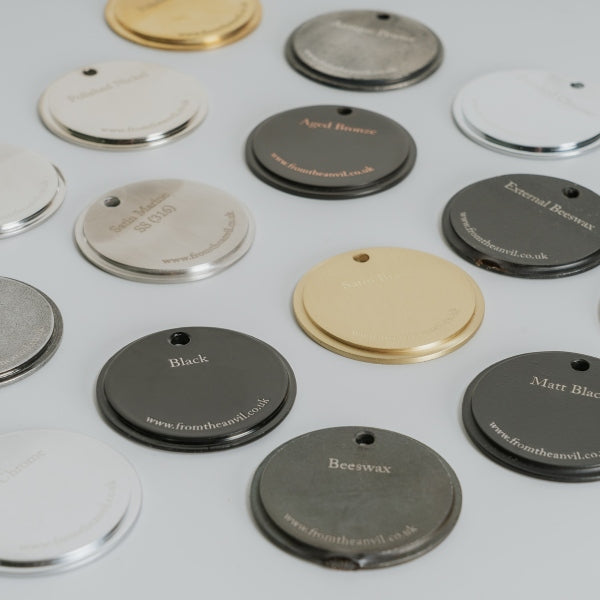
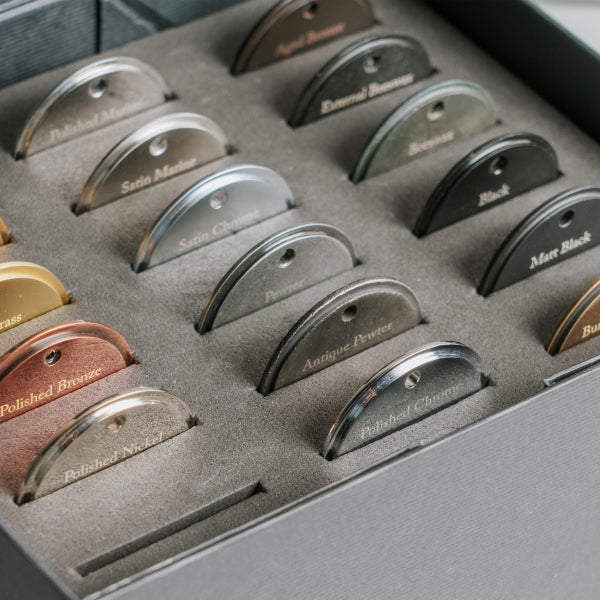
The second thing you'll want to consider is the look of your T hinges. You can choose between our three Blacksmith finishes (Black, Beeswax, and Pewter Patina) and our two signature styles (rounded Penny End and elegant Arrow Head).
Once you've selected your T hinges, you can choose a thumblatch set in a matching style and finish. Our Bean thumblatches are designed to match our Penny End hinges, and our Gothic thumblatches pair well with our Arrow Head hinges.

Tools Required
- T hinges
- Ledge & brace door
- Tape measure
- Pencil
- Screw driver
- Electric drill
- Drill bits
- Fixing screws
How to Fit T Hinges to a Ledge & Brace Door
1. Choose your T hinges
Firstly, you need to decide where you'd like your T hinges to be positioned on your door. You may choose to use two or three T hinges (or maybe more depending on the weight and size of your door). Many people choose to fit their T hinges on the ledges (horizontal planks of wood) on their ledge & brace doors, but you could also fit them above or below these points.
It's also important to consider the style and finish of your T hinges. From The Anvil's Penny End and Arrow Head T hinges are incredibly popular and can be paired with matching Bean or Gothic thumblatches, respectively. We offer these styles in Pewter, Beeswax, and Black finishes.
In this example, we've chosen to position our Pewter Penny End T hinges slightly below the horizontal braces.

2. Position your T hinges
With your door laying down, position the T hinges so that the fixing plate will be screw fitted to the center of the door jamb. Fixing the hinges to the center of the door jamb edge will give the strongest fit.
Place all your T hinges at the same time so you can envision how the door will look once fitted. When you're happy with the position of your hinges, use a pencil to mark the position of the screw holes, ensuring you don't move the hinge while marking.

3. Drill your pilot holes
Using the marks you made in the previous step, carefully drill pilot holes for all the screws. Ensure these pilot holes don't go too deep - they're only there to guide the screw into the wood. Avoid drilling all the way through to the other side of the door.

4. Fit your T hinges
With a hand-held screw driver and the screws provided with your T hinges, fit your T hinges to the surface of the door. Be careful when tightening the screws to avoid slipping and damaging the surface of the door. Also, ensure you do not over-tighten the screws.

How to Fit a Ledge & Brace Door to a Frame Using T Hinges
 1. Position your ledge & brace door
With your T hinges already fitted to your door, start by holding your ledge & brace door up to the door frame. Use some sort of spacer to ensure there is enough space for the door to move on its hinges.
The position of the fixing plate should be in the centre of the door jamb. Once you're happy with the positioning of your door, mark the position of the screw holes with a pencil.

2. Drill your pilot holes
Using the marks you made in the previous step, drill pilot holes for each of your screws. Repeat this process for all the T hinges on your door.

3. Fit your door to the frame
Using a hand-held screw driver and the matching screws provided with your T hinges, tighten the T hinges to your door frame.
Ensure you complete this step carefully to avoid slipping and damaging the surface of the door. Also avoid over-tightening your screws.

If all steps have been followed correctly, your ledge & brace door should now be fitted to your door frame (yay!).