


Contents
- What are thumblatches?
- Tools Required
- How to Fit a Thumblatch
What are Thumblatches?
Typically used on ledge & brace doors, thumblatches are a perfect ironmongery choice for traditional homes.
There are many parts included in our thumblatch sets which we've briefly outlined below.

Above: a diagram detailing the different parts of From The Anvil's Beeswax Bean thumblatch.

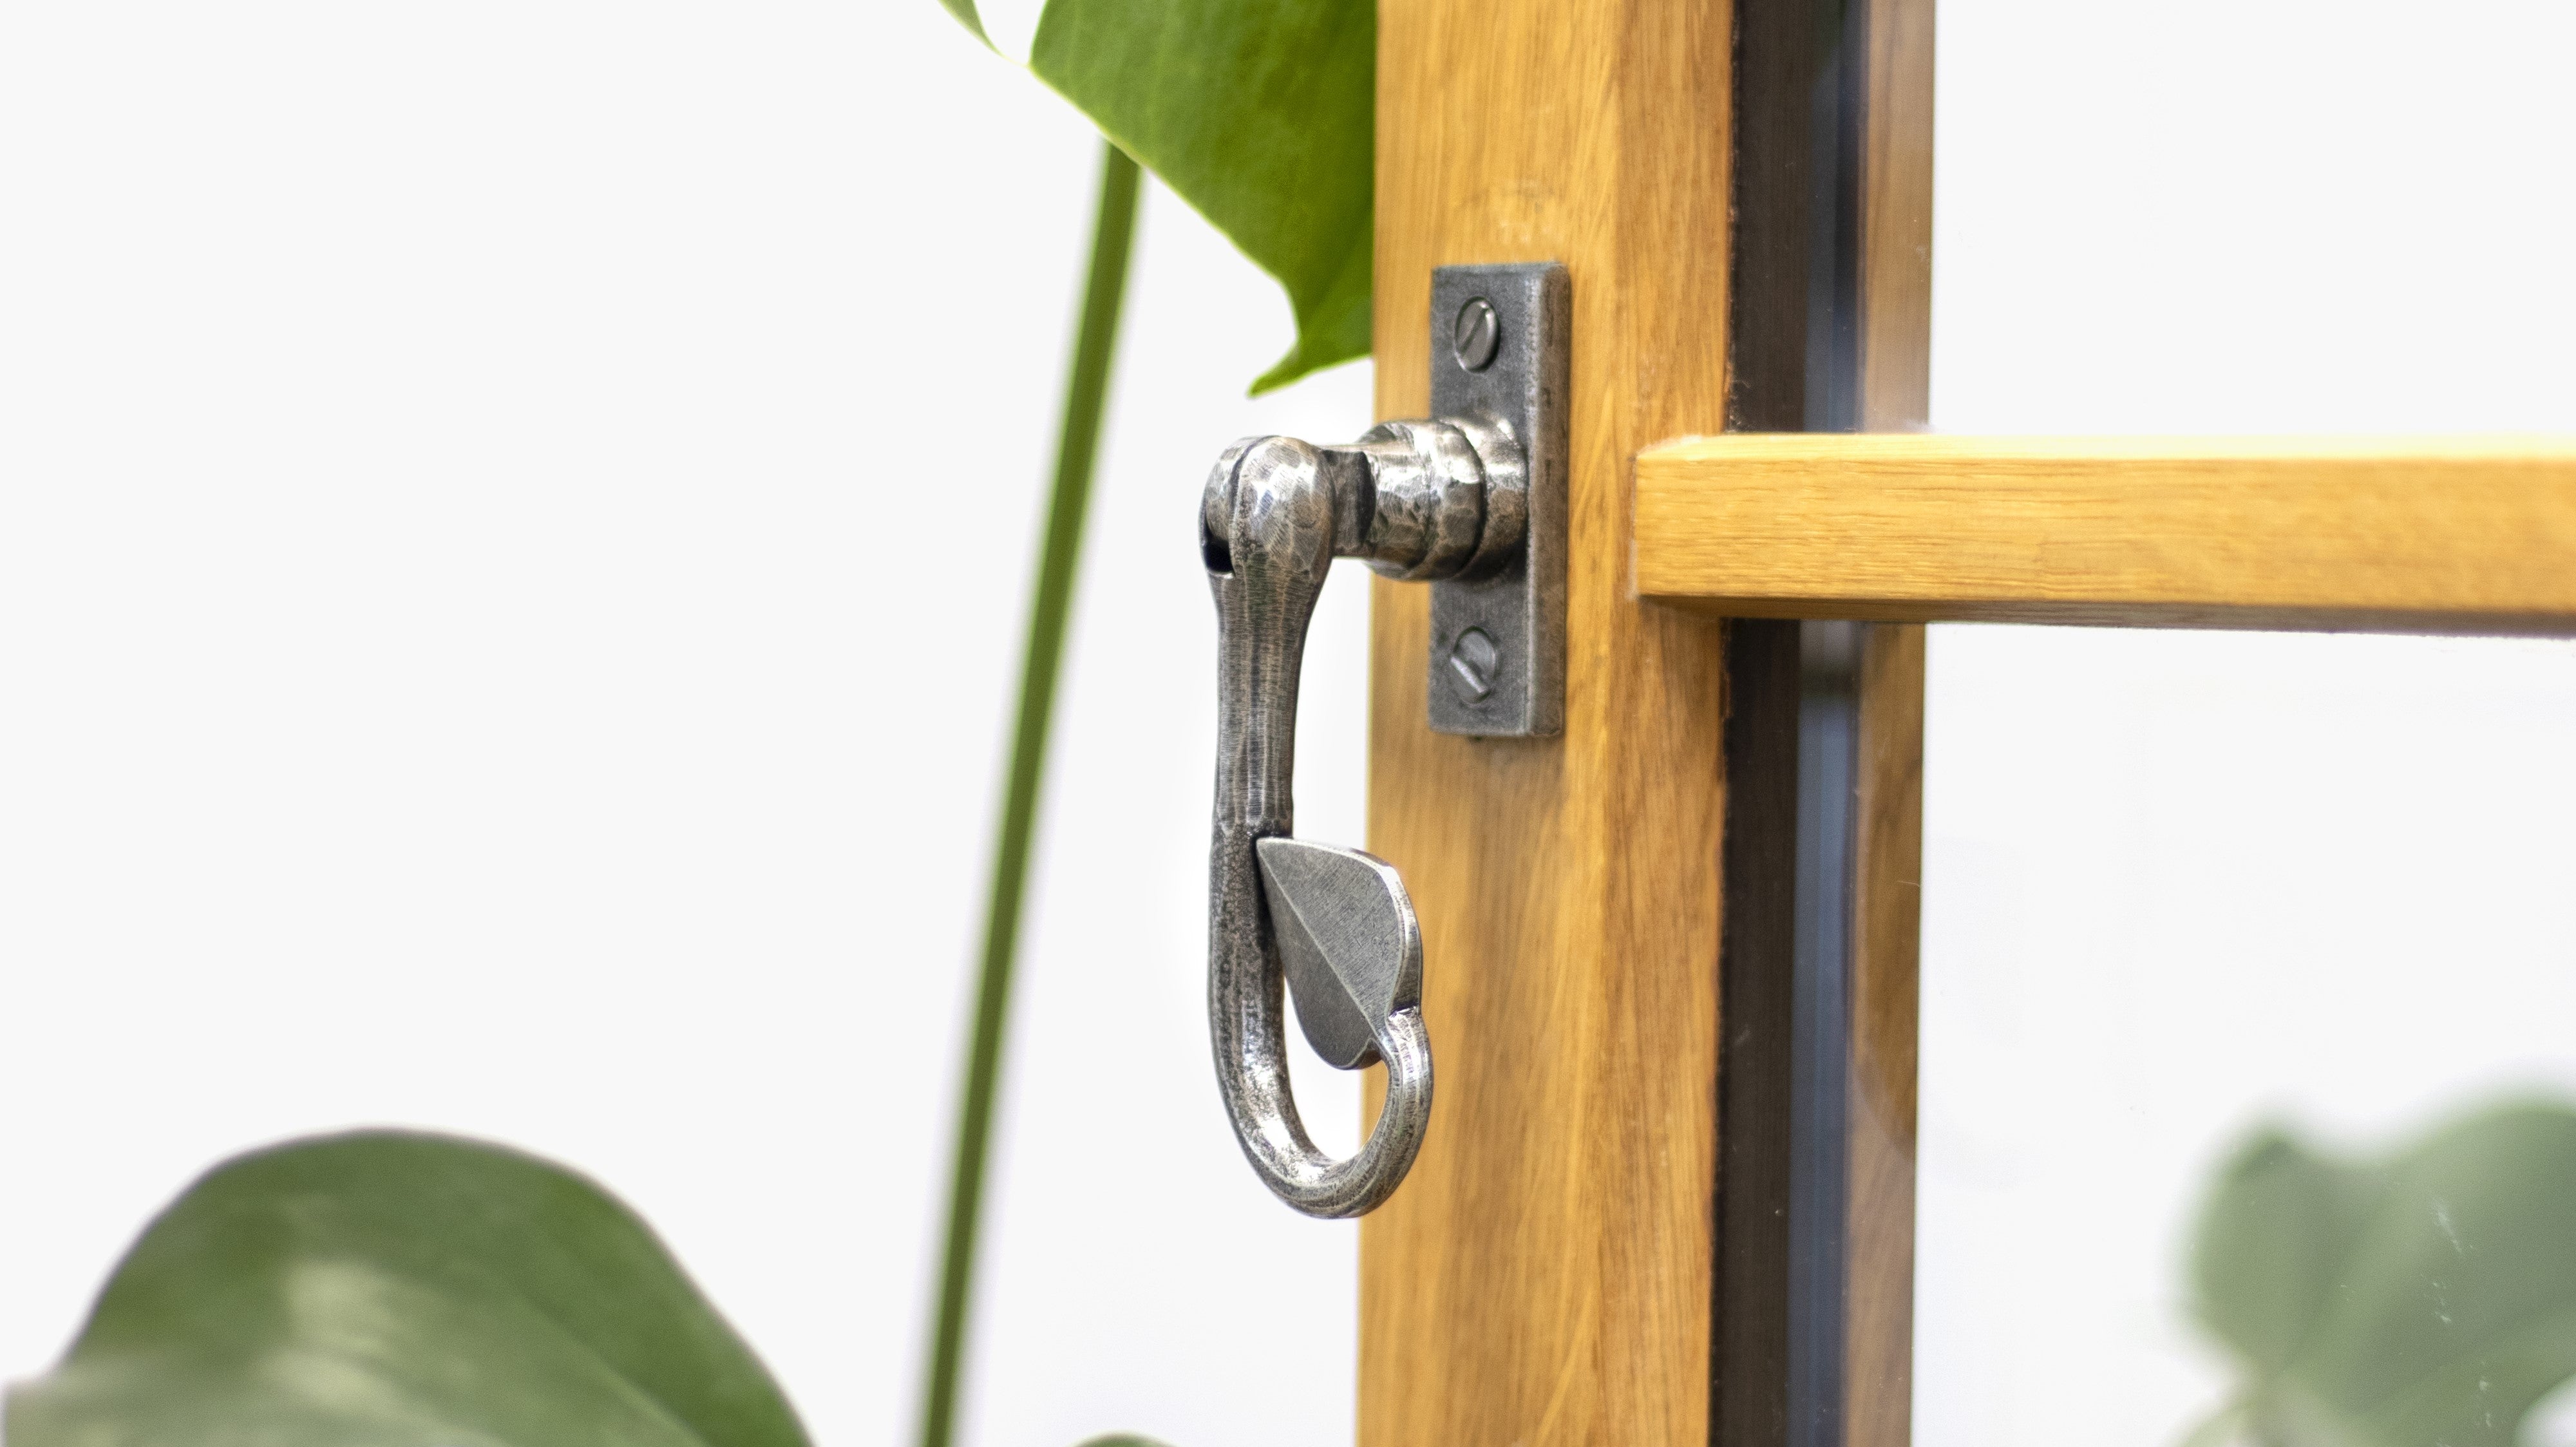
Handle/thumb Bar
Fitted to one side of the door (image 1) and allows the user to depress the thumblatch. The thumb bar passes through the door and raises the latch bar off the keep when pressed.
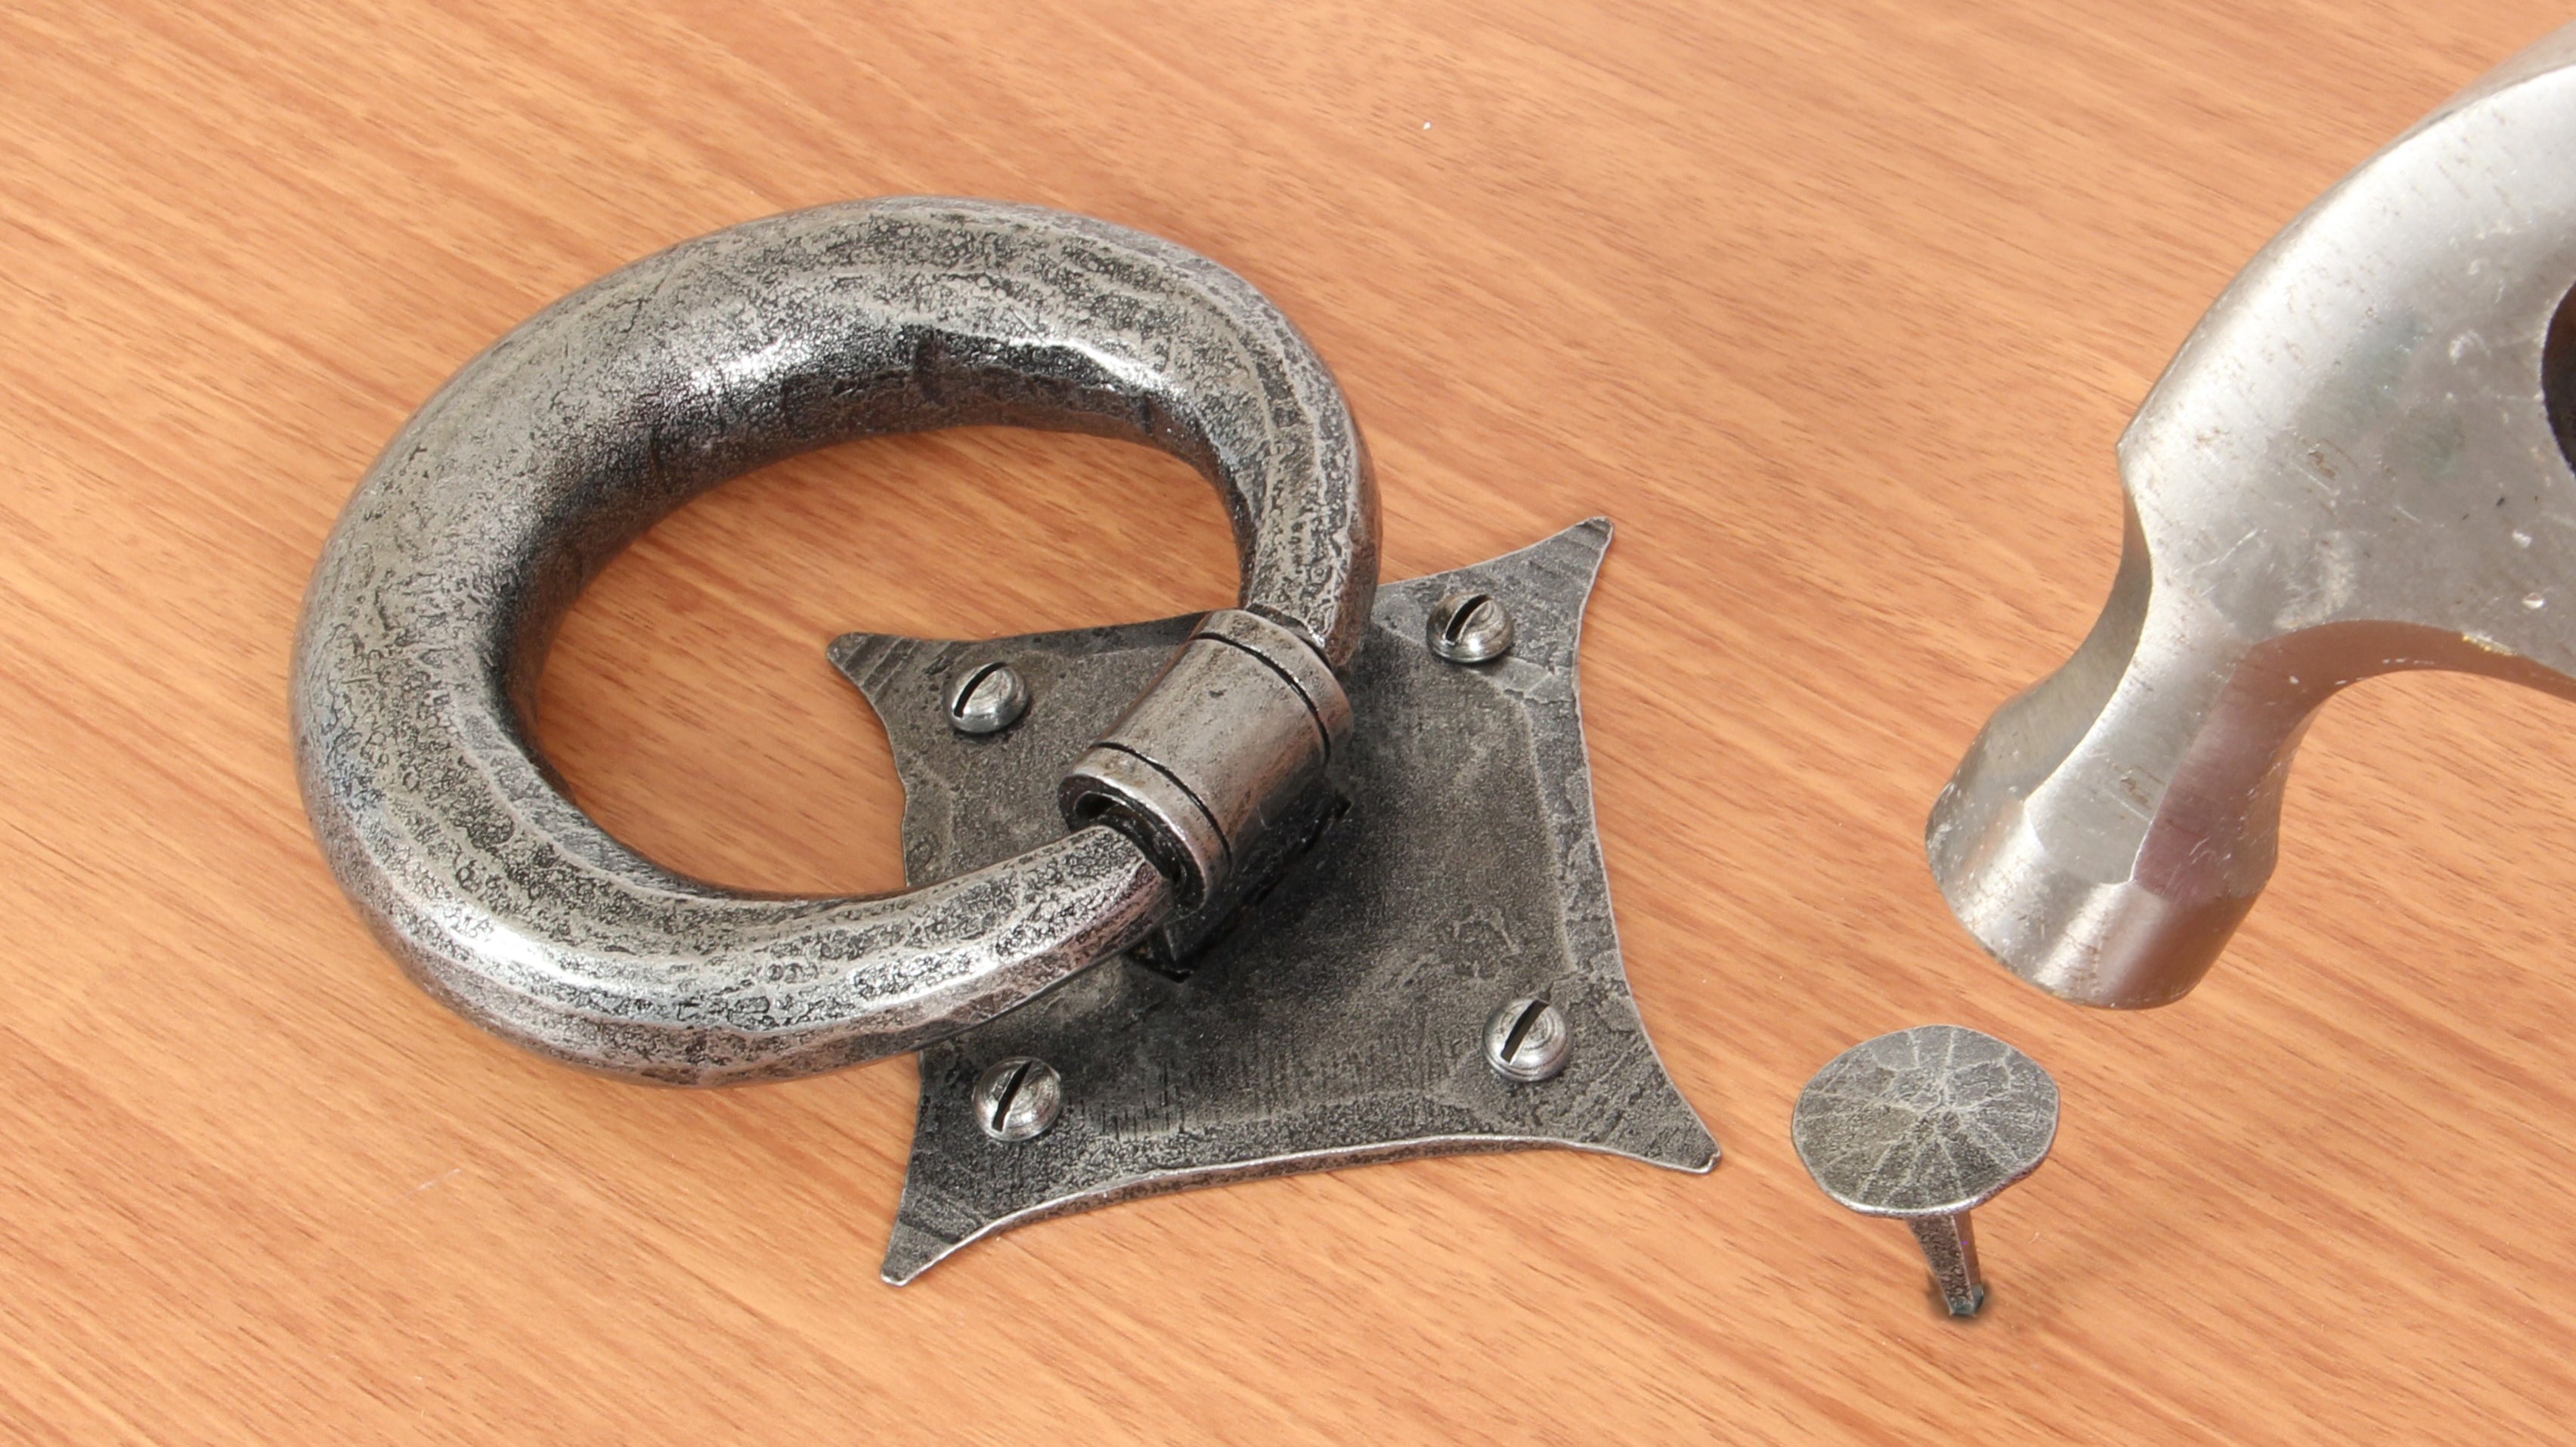
Latch Bar
This is the horizontal bar that's fitted to the other side of the door (image 2) and screw-fixed loosely at one end to allow upward movement of the thumb bar. This allows the latch bar to be lifted off the keep from either side of the door.
Staple Pin or Screw-on-Staple
These are used to restrict movement of the horizontal latch bar (image 2 shows a screw-on-staple). Both are included in our thumblatch sets, but only one is required - the other can be discarded or stored away for safe keeping.
Frame Keep Pin
The keep is driven into the door frame and screw-fixed for safety. It's used to hold the door/thumblatch closed.
Fixing Screws
All matching fixing screws are included with our thumblatch sets and used to secure the product in place.
How to Fit a Thumblatch
1. Position your latch bar
Measure the height at which you want your thumblatch to sit on your door. Traditionally, this is about 1300mm from the floor but can be adapted to any height you prefer.
Hold the latch bar and screw-on-staple to your door at the desired height and use a pencil to mark the position of all the screw holes.

2. Mark the position of your thumb bar
With the latch bar held perfectly horizontal, place a mark along the underside where you want your thumb bar to pass through your door.
This placement can be done by eye, but ideally within an inch of the vertical staple.

3. Drill pilot holes for your staple & latch bar
Use the marks you made in the previous steps to drill pilot holes for all your screws. Take care not to drill too deep as you don't want to drill all the way through the door.
Drill a single hole where you made the mark for the thumb bar.
Then, drill two more pilot holes, one above and one below the space designated for the thumb bar. This will help you with step 4 when you come to cutting out your thumb bar hole.

4. Cut out your thumb bar hole
Use a 6mm drill bit to carefully drill all the way through the plank door, using the pilot holes as guides.
Then cut out the rest of the slot (ensuring it's large enough to acommodate the thumb bar) either using the drill or a chisel.
Sand off any excess wood for a nice, smooth finish.

5. Fix the screw-on-staple or staple pin
Fix the screw-on-staple (or staple pin, depending on your chosen type) to the surface of the door using the pilot holes you previously drilled.
Then fit the latch bar. Do this by passing it under the staple and loosely fitting it using the larger screw provided. Ensure it is only loosely fitted to allow for up and downwards movement of the bar.

6. Position your thumb bar
Pass the thumb bar through your door so that it's level on the opposite side. Doing so will bring the handle up to the surface of the plank, giving your final placement. You may need to do some fine-tuning here to get the correct position - it may be easier to adjust the handle position with the door open to level the thumb bar.
If all steps have been followed correctly, your thumblatch should look like the image below.

7. Drill pilot holes for your handle
Hold your handle up to the door in the desired position, ensuring it's aligned with your thumblatch. Mark the position of each screw hole with a pencil.
Then, use these marks to drill shallow pilot holes for each screw. Be careful not to drill too deeply - if you drill all the way through the door, then the holes will be visible from the other side.

8. Fix your handle to the door
Use a hand-held screw driver and the fixing screws provided to screw the handle to the surface of the door. The pilot holes should make this process fairly simple.

9. Position your frame keep pin
Next, you need to find the position of the frame keep pin. This pin holds the door in place and needs to be firmly fitted as it's the piece which endures the most wear-and-tear.
With the door closed, place the keep in-line with the bottom of the latch bar and use a pencil to mark where the keep needs to sit. Ensure your mark is not too close to the edge of the door frame as this part needs to be hammered in and fixed firmly.

10. Test the keep position
Once you've decided on the position of the frame keep pin, drill a pilot hole for the screw fixing. Then, place the keep into the pilot hole and check that the latch bar sits perfectly horizontal when the keep is driven all the way into the frame.
If it is, you can move on to the next step. If not, readjust the position of the frame keep.

11. Fit the frame keep pin
Use a rubber hammer or mallet to secure the frame keep pin into position (if you only have a metal hammer, you can use this instead, but take extra care when fitting to avoid damaging the finish of your thumblatch set).
Remember to leave enough space for the thickness of the latch bar to sit comfortable against the door frame.
Once you've hammered the frame keep pin into place, use the fixing screw provided to fit the screw securely to the frame for extra strength.

If all steps have been followed correctly, you should have a perfectly working thumblatch. Test your thumblatch by opening and closing your door several times. You may find that the positioning of some parts needs tweaking to find the perfect fit.
If you're fitting architrave to your door frame, we recommend holding your architrave up to the door frame prior to fitting and marking the position of the thumblatch with a pencil. You can then scribe or route this shape out from the architrave to provide a wonderful fit for your hardware.