Contents
- What are Window Stays?
- Peg Window Stays
- Sliding Window Stays
- Tools Required
- How to Fit a Window Stay
- Safety Precautions
What are Window Stays?
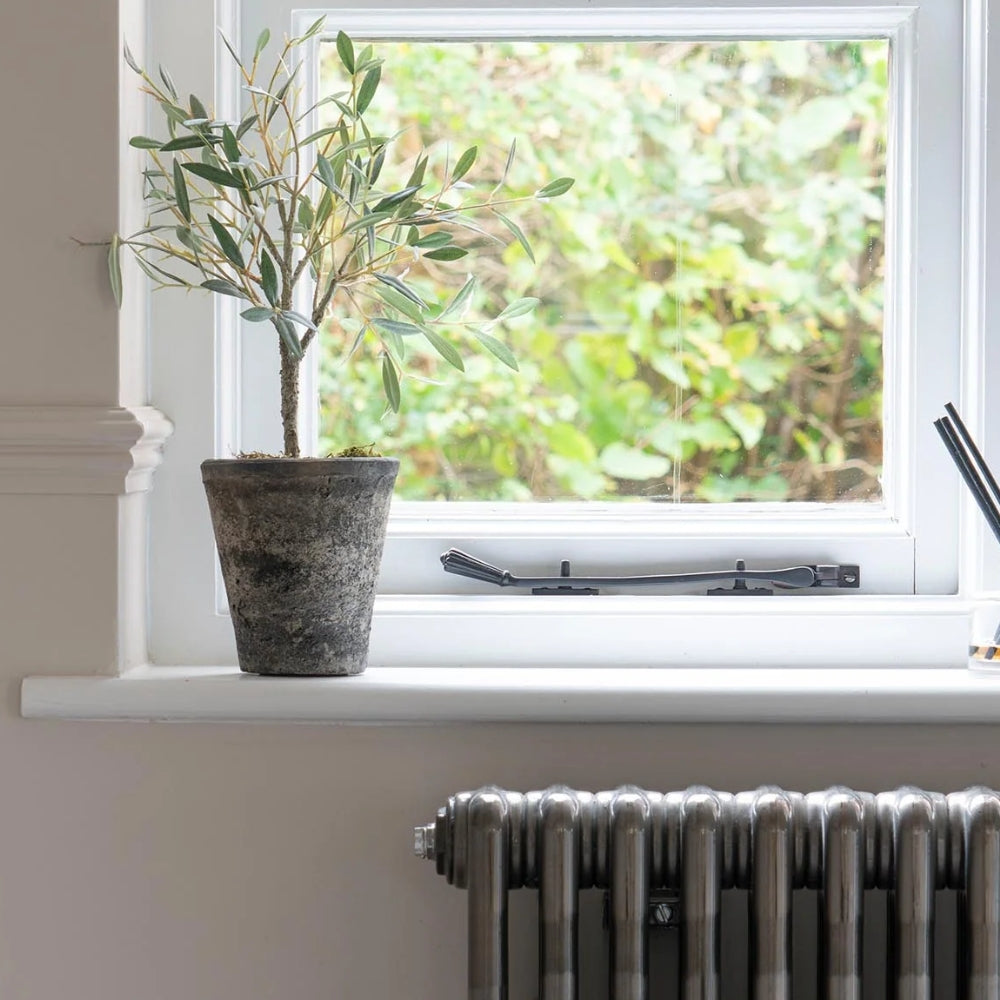
Stays are a type of window hardware which are used to keep windows at a specific angle. Stays can hold the window in an open position or a closed position, while also adding an extra layer of security.
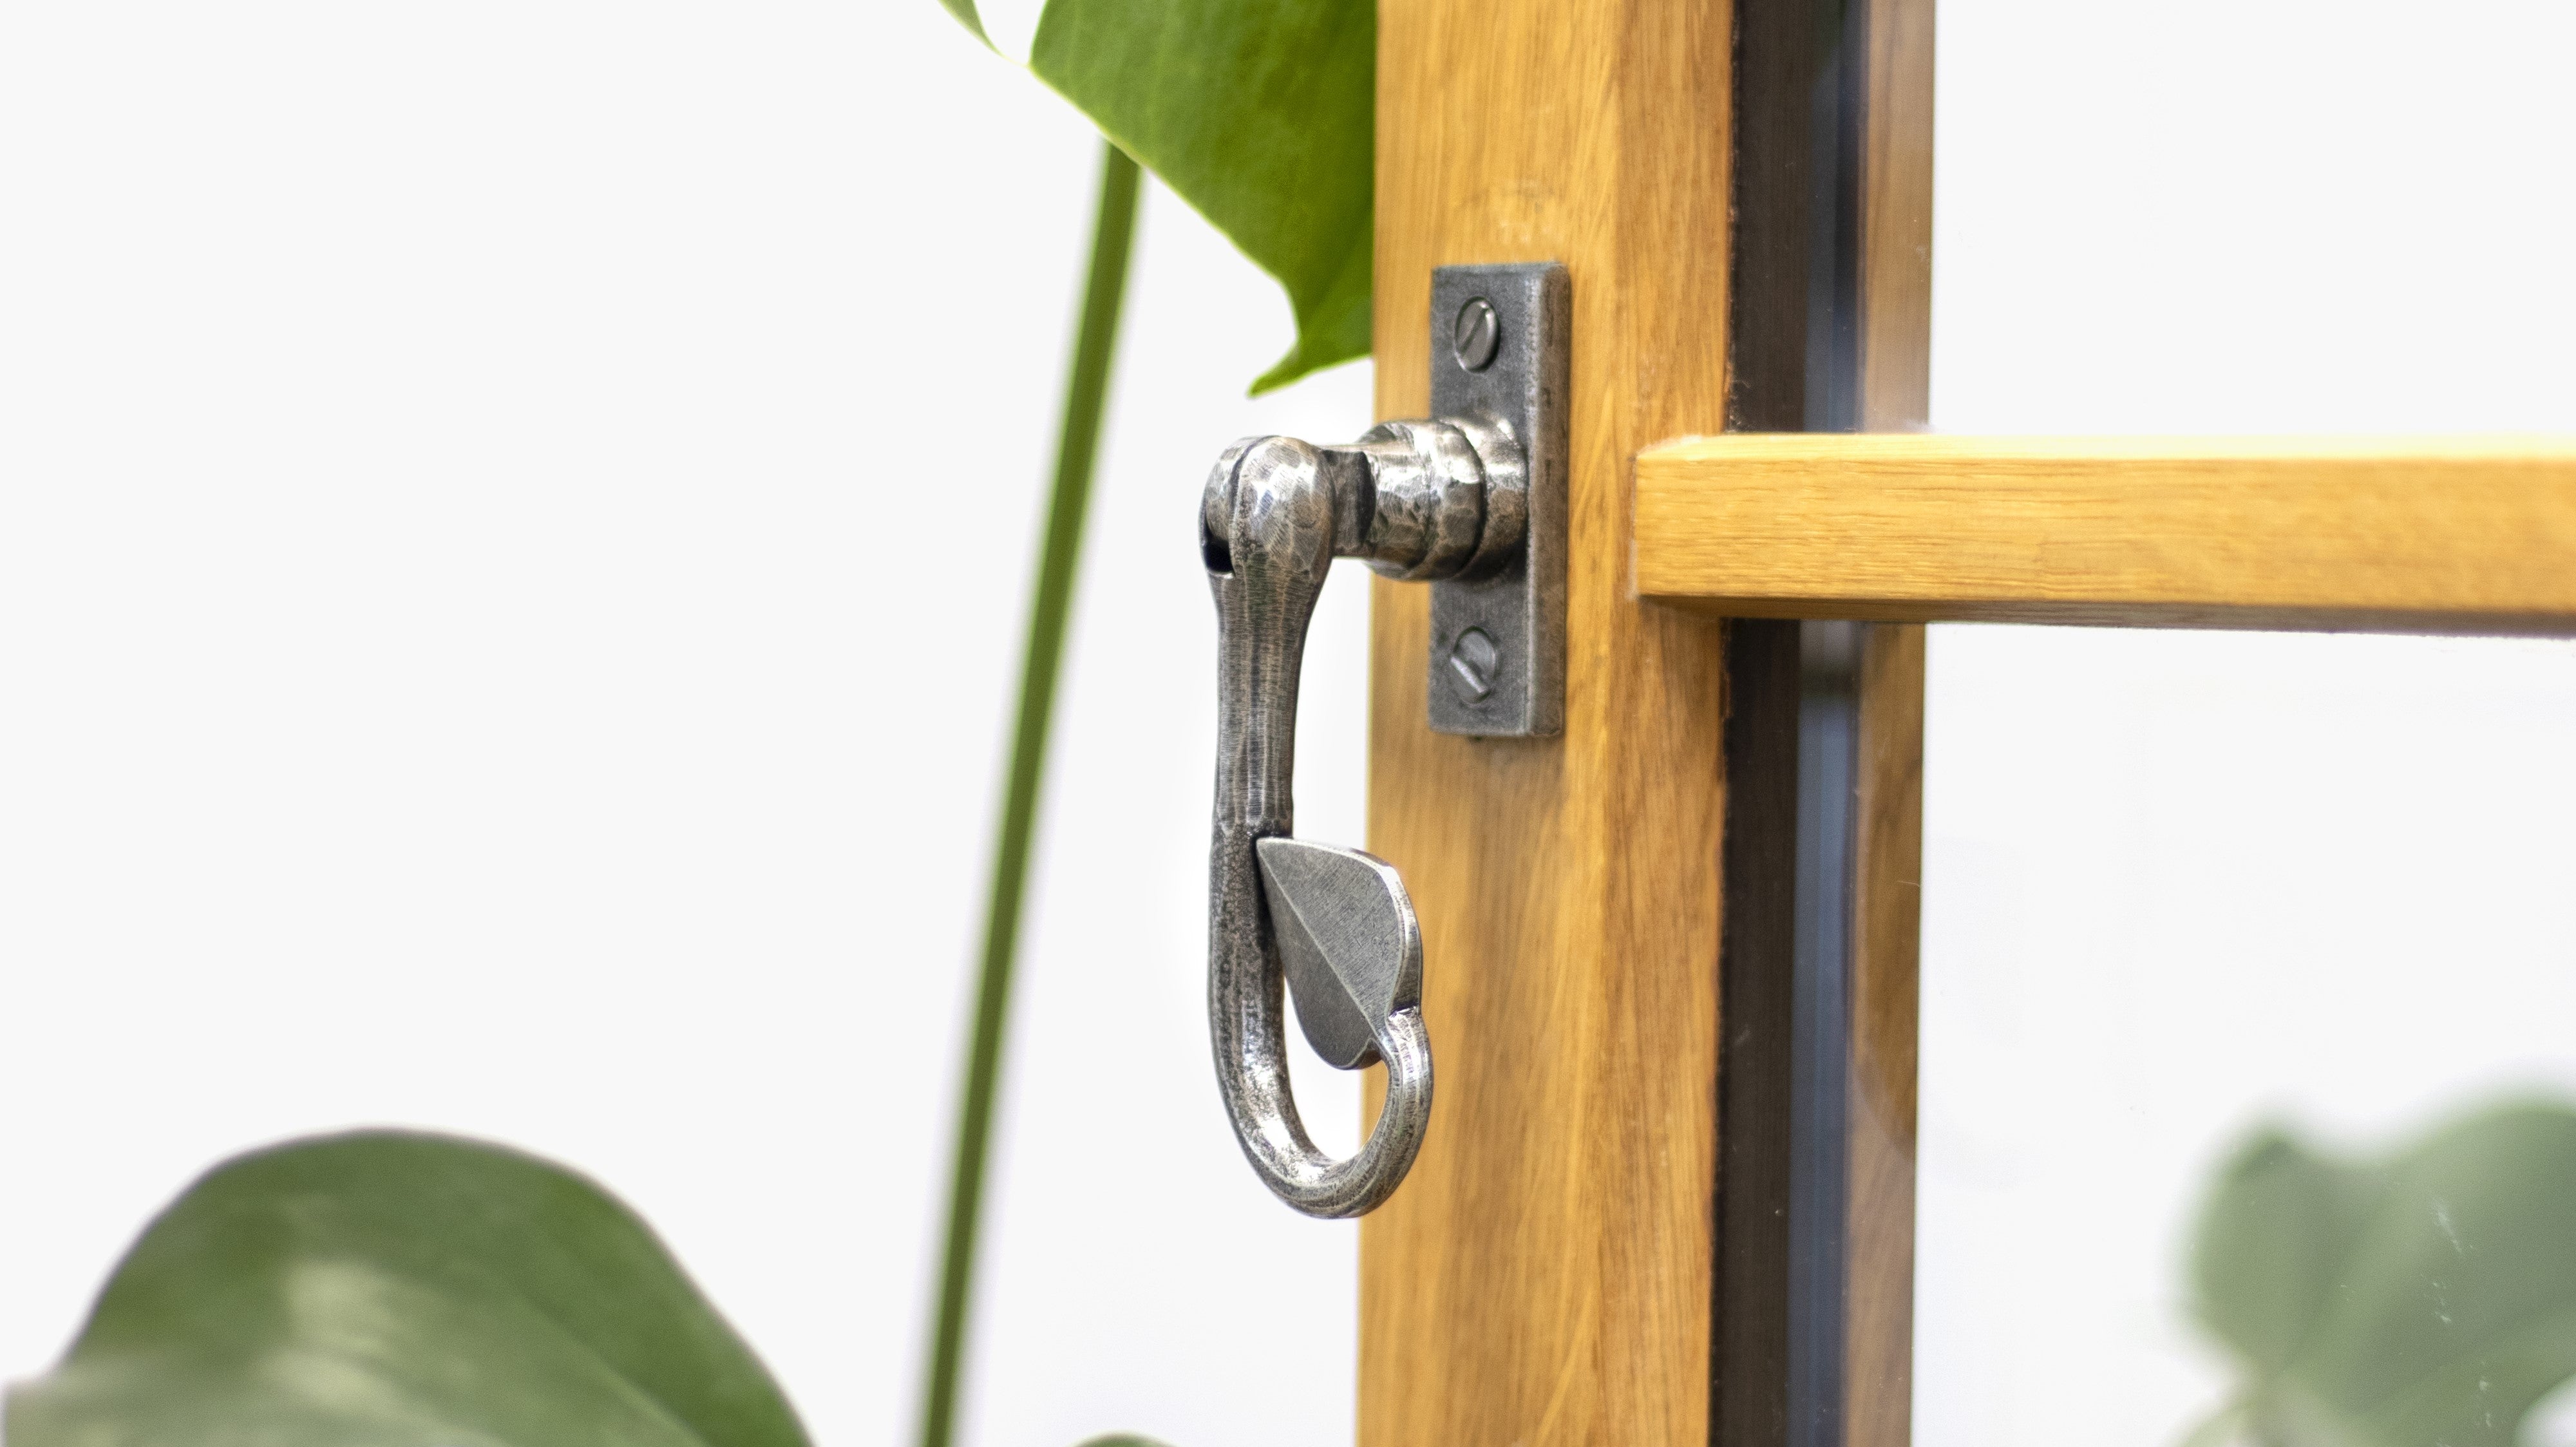
There are two main types of window stays commonly used on casement windows (windows which are hinged on one side, usually fitted in double or single panels). These are peg stays and sliding stays. There are also stays available for other types of windows, such as roller arm and quadrant window stays for fanlight windows, and concealed stays known as friction hinges for uPVC windows.
Peg Window Stays
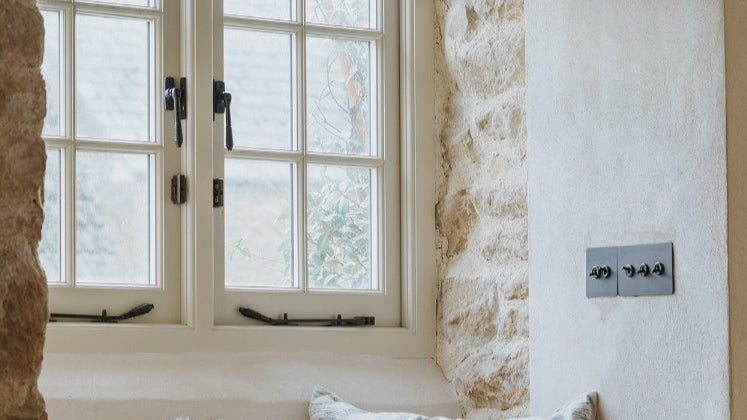
Peg stays are designed for use on casement windows. A peg stay consists of a long arm with multiple holes along its length. At one end of the stay is the frame fixing plate which is used to secure the arm to the window frame itself. The opposite end is decorative and used to lift the arm in and out of position. We offer a variety of From The Anvil stay designs including Peardrop, Shepherd's Crook, and Monkeytail.
Peg stays are also supplied with two matching stay pins. Stay pins are fitted to the lower window frame. The holes in the arm of the stay slot over the stay pin to fix the window into position. Two standard stay pins are supplied with each stay. We recommend fixing both to your window for added strength and security, but you may choose to fit just one for aesthetic purposes.
Although From The Anvil's window stays come with standard stay pins, there are several other types of stays available to suit different window types. These include:
- Locking stay pins - these are used for standard casement windows and are fitted to the ledge of the window. Unlike standard stay pins, locking stay pins can be locked via a discrete locking mechanism which fits over the peg.
- Cranked stay pins - designed for use with flush casement windows. Instead of being fixed to the window ledge, these are fitted to the lower frame of the window and protrude upwards at a 90 degree angle.
- EJMA pins - these pins have a slight angle (approximately 9 degrees) and are designed for use on sloped casement frames, particularly on timber windows.
- Offset pins - designed for use on heavily moulded casement windows.
Sliding Window Stays
Tools Required
- Window stay
- Stay pins
- Pencil
- Drill & drill bits
- Screwdriver
How to Fit a Window Stay
1. Prepare your hardware
2. Position your stay
3. Drill pilot holes for the
4. Position your stay pins
5. Fit your stay pins
6. Test your stay
Safety Precautions
When using power tools and carrying out DIY work, it's important that you do so safely. Here are a few tips to help minimise accidents when fitting window stays.
- Keep your hands away from the rotating drill bit when drilling holes and ensure the tool is pointed away from you at all times.
- Tie hair back when using power tools to ensure it doesn't obstruct your view or get caught in machinery.
- Wear goggles when drilling to protect your eyes against flying debris.
- Wear a dust mark to protect your lungs from dust particles created through drilling.
If you're unsure about any of the steps listed above feel free to contact us for free advice and guidance. Alternatively, if you don't feel confident doing the work yourself, get in touch with a qualified carpenter or tradesperson to complete the work for you.














Comments
Excellent step-by-step guide on fitting a window stay! Clear instructions and helpful tips make this DIY project easy to follow.
Please can you tell me why some window stays have an extra large, oval hole in them?