From The Anvil's traditional letterboxes cater for all door types including composite, uPVC, and timber. Each one has been carefully designed to maintain a traditional look while offering enhanced security and weather protection. They're supplied as a full kit, including both a tunnel and brushes to refuce draughts and insulate the door. Because the letterbox is fixed internally, it cannot be removed from the exterior surface of the door.
Contents
- Parts of a letterbox
- Tools required
- How to fit a letterbox
- Appearance of a letterbox
- Safety precautions
Parts of a Letterbox
- Internal brushes: designed to reduce draughts and to help insulate the door.
- Internal letterbox tidy: designed to cover up the inner workings of your letterbox and help reduce draughts.
- Adjustable inner sleever: protects the door from moisture and masks the aperture cutting. The internal tunnel can be adjusted to suit the thickness of your door.
- Weather-seal: fitted to the back of the exterior face of the hole. Once compressed (by tightening the internal fixings) the weather-seal prevents adverse weather conditions entering behind the plate.
- Drainage holes: allows any water ingress to freely drain away.
- Bolt-through fixings: supplied with matching Stainless Steel bolt-through fixings fitted from the internal side only.
Tools Required
- From The Anvil's Traditional letterbox (we used Polished Brass)
- Wooden door
- Pencil
- Fixing screws
- Screwdriver
- 3mm drill bit
- 9/10mm drill bit
- Electric drill
- Jigsaw or pad saw
How to Fit a Letterbox
1. Remove the existing letterbox.
This will leave a large aperture in the door. If your door doesn't currently have a letterbox, you can skip this step and headstraight to step 2.

Above: a letterbox hole cut into a wooden door.
2. Mark the letterbox position.
Using the new letterbox as a guide, hold it up to the door in its desired position and use a pencil to mark the location of the fixing holes and letterbox aperture.
Ensure the letterbox is level when marking - you can use a spirit level to do this.

Above: person using a pencil to mark the position of the letterbox aperture on the exterior surface of a wooden door.
3. Cut the letterbox aperture.
Use a jigsaw or Pad saw to cut out the required shape for the letterbox.
Allow approximately 1mm around the edge of the letterbox opening for adjustment.

Above: person using a band saw to cut the aperture for a letterbox.
4. Drill your holes
Accurately mark the position of the holes for the letterbox fixings. Then, drill a pilot hole in each, approximately 3mm deep.
Using the pilot holes you've just made, use a 9/10mm drill bit to drill deeper holes for the bolt-through fixings.
Ensure this process is repeated for all necessary fixing holes.

Above: person using a drill to create holes for the bolt-through fixings.
5. Insert the internal brushes
Insert the brush section into the aperture from the internal side of the door.

Above: person fitting the brush section of the Traditional letterbox to the internal side of the door.
6. Connect the front section
Insert the letterbox front section with the drainage holes at the bottom and press into position on the external surface of the door.

Above: person fitting a brass letterbox to the front of a blue wooden door.
7. Connect the internal cover
Next, place the internal cover over the brush section. Secure this with the fixing screws and tighten them fully to compress the seal and secure the whole letterbox into place.
At this stage, your letterbox should be successfully fitted to your door. For a real fresh look, why not try sanding your door and coating it in a fresh layer of paint?

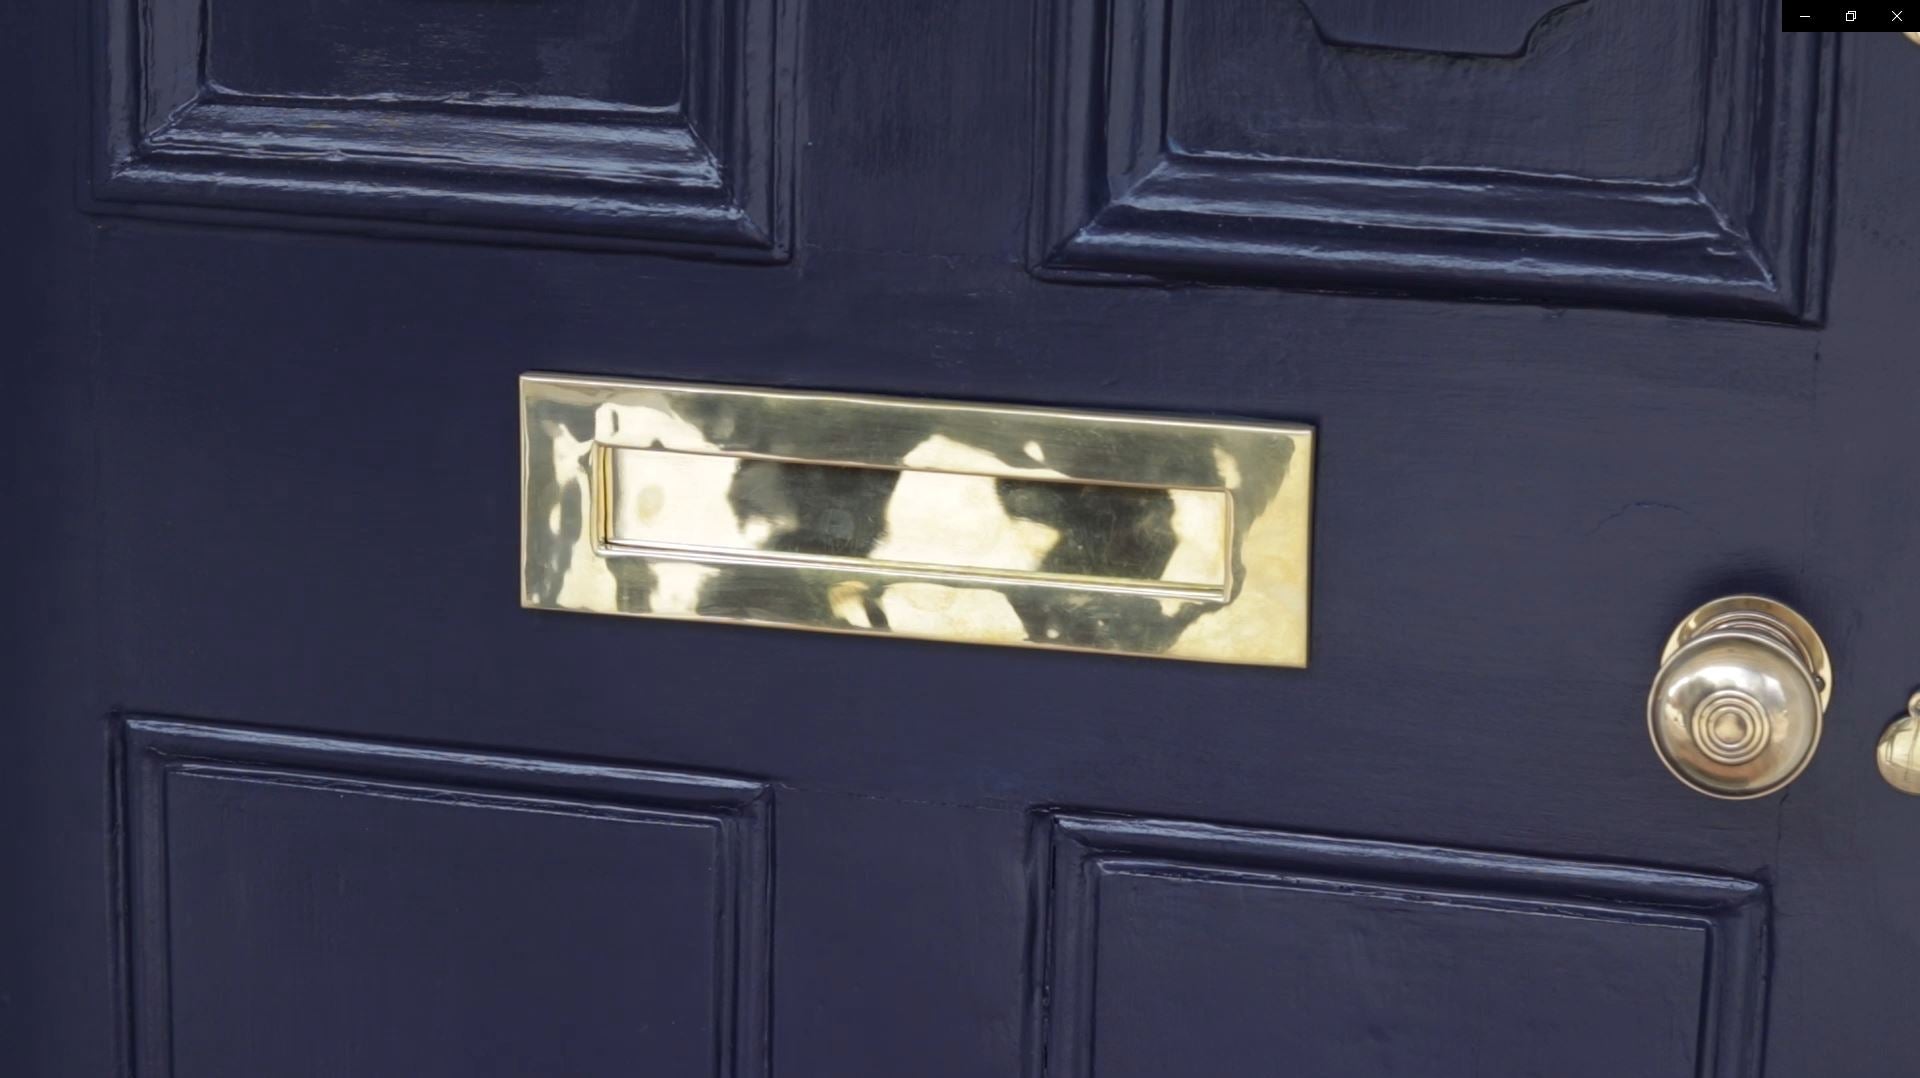
Above: a dark blue painted wooden door fitted with a Polished Brass letterbox and matching door knob.
Appearance of a Letterbox
External View
From The Anvil's Traditional letterboxes are designed to offer enhanced weather protection and security, with no fixings accessible from the exterior to prevent removal from the outside. An all-weather seal has been fitted to help prevent any water ingress.
Internal View
Fixings are only visible from the inside of your property. Securing the internal plate with the fixing screws provided and tightening them fully compresses the seal and secures the whole letterbox into place.
Tunnel & Brushes
Designed to reduce draughts and insulate the door. The internal tunnel can be adjusted to suit the thickness of your door. The sleeve inside the letterbox also protects the door from moisture and masks the aperture cutting.
Drainage Holes
Along with the weather seal, the plastic internal sleever, and the strong spring on the letterbox, every effort has been made to eliminate water ingress. In the case of extreme conditions, the extra feature of drainage holes allow water to drain away securely from the internal part of your door.
Safety Precautions
- Tie har back when using power tools (in this instance, electric drills or band saws).
- Wear goggles when sawing or drilling to prevent eye damage.
- Wear work gloves when handling raw wood or sharp materials to avoid splinters or injuries to your hands.
- Don't cut the aperture too large. If you're not confident cutting into your door, start with a hole smaller than you think is necessary. Then, gradually enlarge the aperture bit by bit, until it comfortably fits your letterbox. If minor adjustments are needed, you can use a file rather than your saw.


