


There are two main ways to attach a door knocker to your door. These are bolt-through and surface-fixed. In this guide, we explain how to fit a surface-fixed door knocker.
Contents
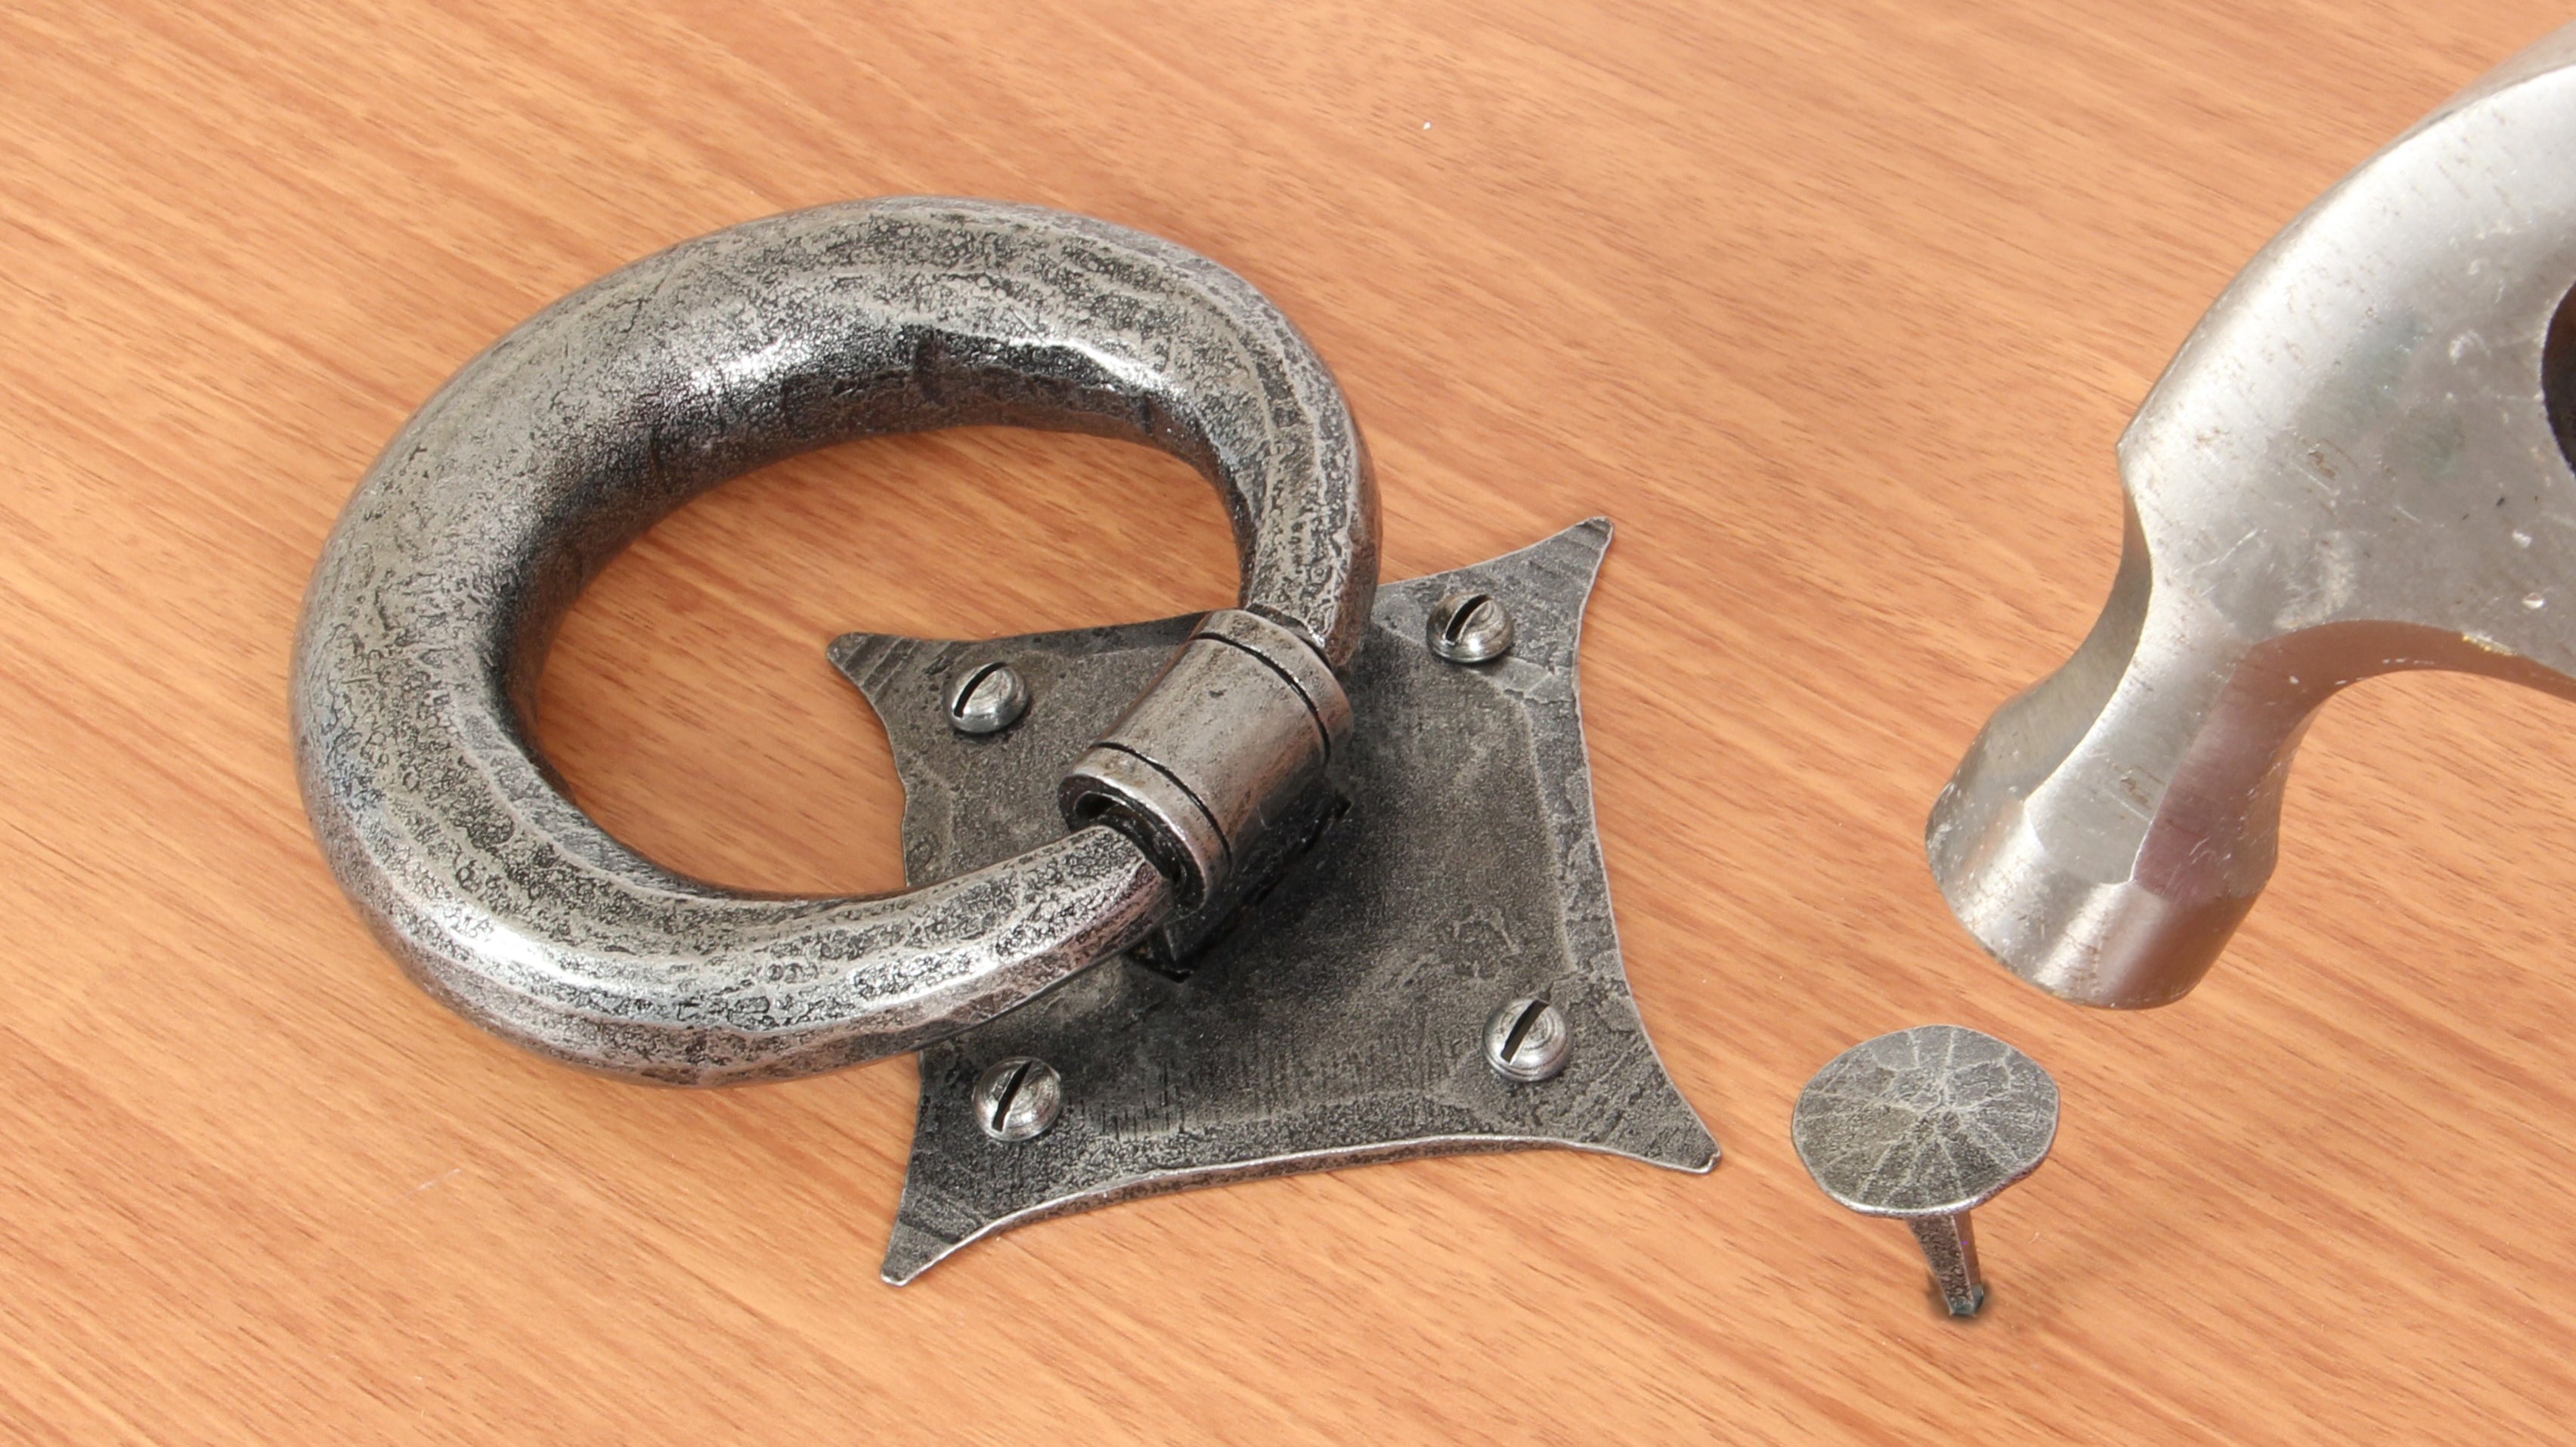
Parts of a Door Knocker

Tools Needed
To complete this job, you'll need the following tools:
- Wooden or composite door
- Surface-mounted door knocker
- Pencil
- Electric drill
- Drill bits
- Wood screws
- Screwdriver
- Hammer
How to Fit a Surface-Mounted Door Knocker
1. Choose your position
Start by deciding where you'd like your knocker to be fitted on your door. Avoid fitting it over any mouldings, windows, or existing hardware, and not too high up the door (to ensure it's accessible for people of all heights).

2. Mark your screw holes
Once you're happy with the position of your door knocker, take a pencil and mark the position of each of the screw holes. Ensure you hold the product firmly in place while marking so that it doesn't move.

3. Drill your screw holes
Remove the product from the door and use a 2mm drill bit on an electric drill to drill into the four screw holes you marked on the door. Go slowly, taking care not to scratch the surface of your door.

4. Tighten your screws
Once your holes have been drilled, hold the knocker up to the door and place the first screw in, partially tightening it (but not all the way). Repeat the process for the remaining three screws, until all four screws are partially tightened, making sure the position of the door knocker hasn't moved.
Carefully tighten all screws, ensuring the product is attached firmly in place.

5. Mark your strike plate position
Once the door knocker has been fitted, you're ready to fit the strike plate.
With the knocker in its resting position, make a note of where it touches the door. Then lift the knocker up, and mark this position using a pencil.

6. Drill your pilot hole
Using the mark you made in the last step, drill a pilot hole with a 3mm drill bit. Drilling a pilot hole helps prevent the wood/composite door splitting in the next step when fitting the strike plate.

7. Insert your strike plate
Place the strike plate into the pilot hole you've just drilled, then gently hammer it into position. Be careful not to split the door material.
Test that your door knocker works as expected by hitting it against the strike plate. If all steps have been followed correctly, you should now have a function door knocker on your door!

Safety Precautions
- Protect your ears when using power tools (such as electric drills) by using ear plugs or defenders.
- Ensure you have all the safety equipment required before starting your project. Depending on the tools you're using, this may include a dust mask, safety goggles, or a hard hat.
- When using a hammer or drill, ensure it's always directed away from your body to minimise the risk of accidents.
- When using a drill (or other power tools) ensure hair is tied back to avoid getting caught.