


A Step-by-Step Guide for Creating Open Shelving
Open shelving is a wonderful way to increase storage without taking up floor space. It's the perfect solution for kitchens, bedrooms, and living areas, and is surprisingly easy to DIY. In this blog, we provide a step-by-step guide to help you create your own open shelving.

Above: all the tools you'll need to assemble your shelves.
You Will Need...
- Shelving - you can either make your own by cutting a piece of wood to size, or purchase a pre-made shelf. We've chosen a beautiful piece of oak which has been planed and stained with Osmo Polyx Oil Raw.
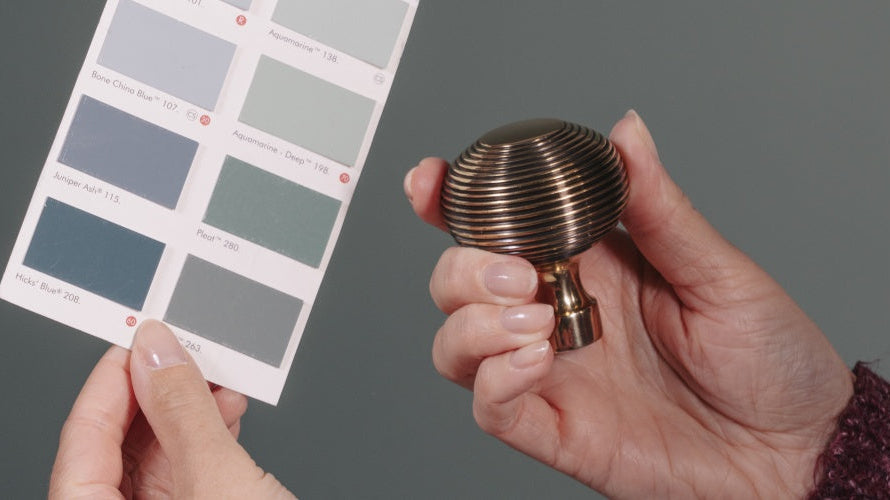
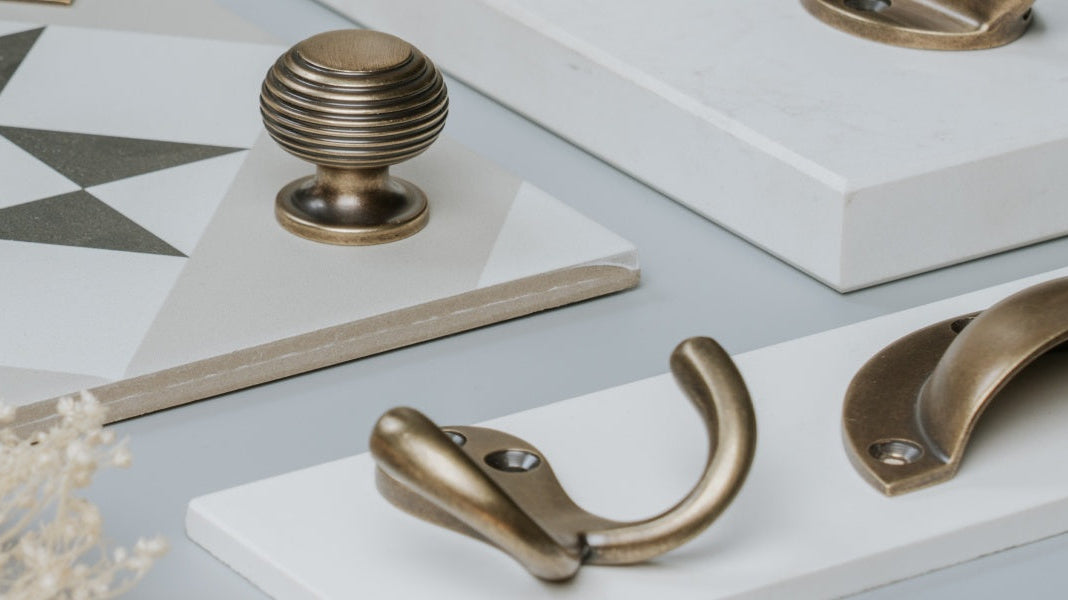
- Shelf brackets - depending on the size and weight of your shelf, you can use two or more brackets. We've selected From The Anvil's Beeswax Curved shelf brackets and because our shelf is relatively small, we've opted to use two brackets. For light to medium loads, we recommend fitting a bracket every 60cm or so.
- Metal detector
- Pencil
- Spirit level
- Drill
- Masonry or wood bit to fit wall plugs
- Screwdriver
- Straight wooden batten
- Wall plugs (ensure you choose wall plugs which are suitable for the wall you're fixing to i.e., concrete, masonry or panel)
How to Create Open Shelving
Before deciding where to fit your shelf brackets, check your walls with a metal detector to ensure there are no hidden pipes, electrical wires, or unexpected surprises in your wall. If you don't have a metal detector, check both sides of the wall for electrical, gas, and water appliances. Keep in mind that most cables and pipes will lie either vertically or horizontally.
Step 1. Make your mark
Hold your bracket up to the wall in the position you want it fitted. Mark the top and bottom of the shelf with a small, straight pencil line. Once you've made your first mark, hold your spirit level against the wall and ensure it's straight before making a second mark where you want your second bracket to sit. If your shelf is long, you may want to use a wooden baton to rest the spirit level on to reach between the two brackets. If you're using more than two brackets, repeat the previous step to mark the location of the subsequent brackets.

Above: holding a From The Anvil Beeswax Curved shelf bracket against a wall and marking it's position with a pencil.
Step 2. Mark your holes
Hold your shelf bracket against the pencil mark you made. As you hold it against the wall, use your spirit level to ensure the bracket is straight and then mark the screw holes with a pencil.

Above: drilling the first hole for a shelf bracket.
Step 3. Drill your holes
Once your holes are marked in the correct place, you're ready to drill. Start by drilling the holes for just one of your shelf brackets. This enables you to double check the positioning of your brackets before drilling your holes. Use a masonry bit or a twist bit for wooden studs, and drill about 44mm into the wall.

Above: using a spirit level to check the level of the shelf brackets.
Step 4. Attach brackets to the wall
Insert your wall plugs into the holes you've just made, then hold your bracket against the wall and insert your first screw. Tighten it a little, but not too much, and then insert the second screw. Once both screws are in the wall, you can tighten them fully. When this is complete, place your shelf in the position you want it, on top of the first bracket, and use a spirit level to double check the positioning of the second bracket. Make adjustments if necessary and once you're happy with the positioning, attach your second bracket to the wall.

Above: a pencil being used to mark the screw holes on the underside of a wooden shelf.
Step 5. Make your holes
Lay your shelf across your brackets in the desired position. Using either a pencil or a bradawl, mark the position of the screw holes on the underside of the shelf.
Once you're happy with your screw placement, drill pilot holes to help guide the screws into position. Be careful not to drill all the way through the shelf! We advice marking your drill bit with a piece of tape at the correct length before drilling, like in the image below. Now, you're ready to drill your holes!

Above: using a piece of tape to prevent the drill penetrating too far into the wood.
Step 6. Add your shelf
Place the shelf into position, ensuring the screw holes line up nicely. Use a screwdriver to tighten your screws, ensuring the shelf is held tightly in place.

Above: screwing a From The Anvil Curved shelf bracket to the underside of a wooden shelf.
Step 7. Style your shelf
Now that your shelf is up and ready, it's time for the really fun part; styling your shelf! For some top tips on how to do this, head over to our Styling Shelves blog.

Above: a wooden shelf hung with From The Anvil's Beeswax Curved shelf brackets with assorted décor on top.
Head back to our blog for more design inspiration and DIY guides!