


Are you looking for a quick and easy way to update your old furniture?
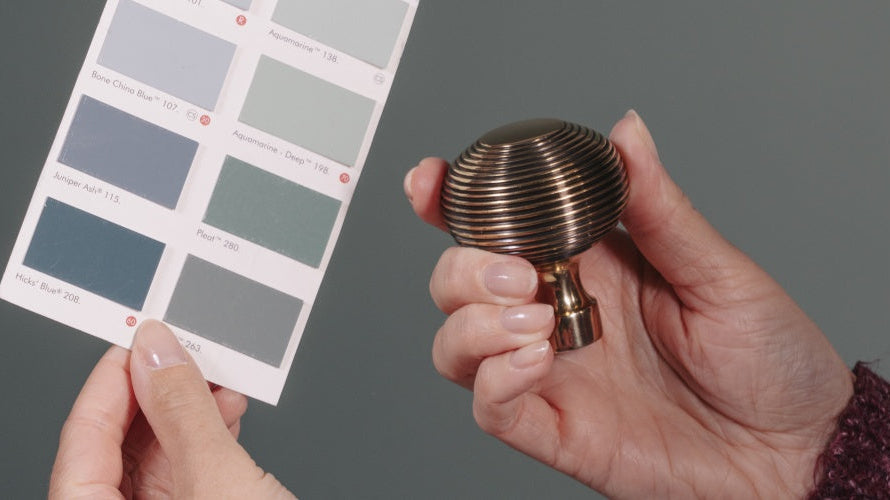
With just a lick of paint and some new hardware, you can give your furniture a brand-new look. Here's a great example, finished using Little Greene paint and From The Anvil cabinet knobs to completely refresh a chest of drawers.
Here’s a step-by-step guide of how we gave our furniture a much needed makeover…

1. Remove existing hardware.
Whether your furniture is fitted with cabinet knobs, drawer pulls, or T bars, the removal process should be the same. Use a screw driver to carefully unscrew the fixings from the inside of the drawer/cupboard door.

Above: removing the existing drawer pulls and cabinet knobs from an old chest of drawers.
2. Fill in any cracks.
If your piece of furniture has any cracks, holes, or scratches, you’ll want to fill these in before the next step. Take some wood filler and a scraper and carefully fill in each hole. Don’t worry if you use excess filler as you’ll be sanding this down in the next step. Wait for your filler to dry completely (check the label to see how long your filler takes to set).

Above: using wood filler to fill in any cracks on an old chest of drawers.
3. Sand it down.
Starting with the areas you filled, sand down your furniture. You can use standard sand paper, or use an electric sander if you have one. Sand as much of the surface as you can - doing so provides a great base for your paint/primer to stick to and will ensure a smoother finish once the project is complete.

Above: using sand paper to smooth out any rough surfaces on an old chest of drawers.
4. Paint your piece.
The paint colour of choice here is Little Greene’s Juniper Ash (115). Depending the on finish and type of paint you use, you may want to apply a layer of primer first. Use a quality paintbrush or roller and apply an even layer of paint across the surface of the piece. If your furniture has detailed areas, you may want to use a smaller brush for these parts.

Above: using a paint brush to paint an old chest of drawers in Little Greene's Juniper Ash paint.
For a finished look, ensure you paint all surfaces, including those that are not visible when the piece of furniture is closed (e.g. the side of drawers and the inside of cupboard doors).

Above: using a foam roller to paint all sides of a drawer.
5. Wait for the paint to dry completely.
Check your tin to see how long your paint takes to dry. Once dry, apply a second coat of paint. Repeat this step until you’ve achieved the coverage you want.
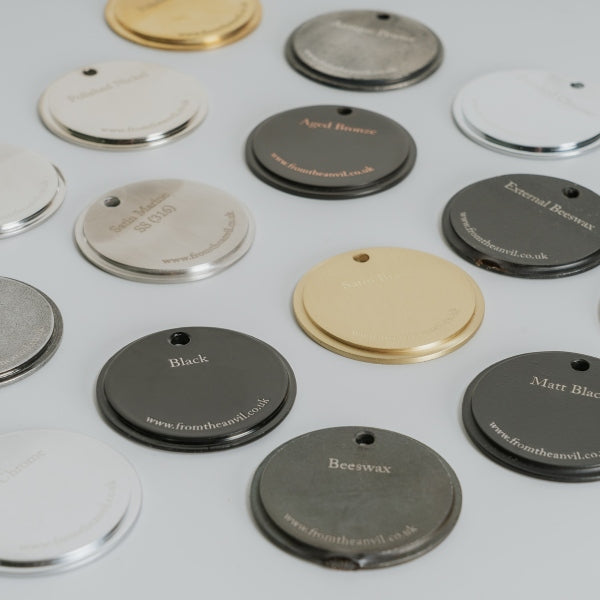
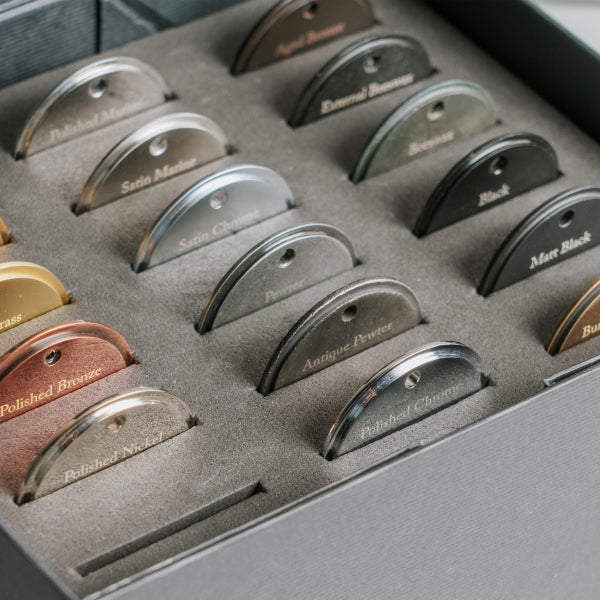
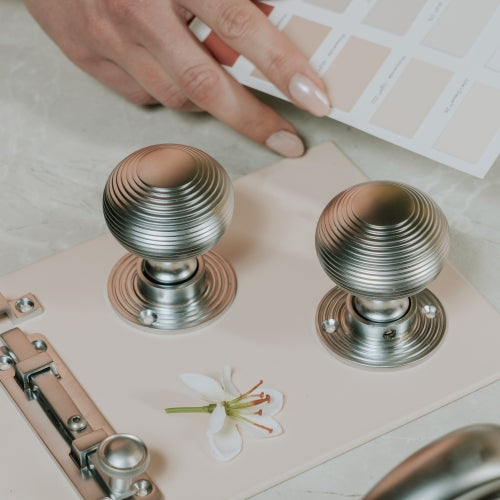
6. Choose your hardware.
The type of hardware you choose will depend on the furniture you’re revamping. We use the following as a general guide to cabinet hardware:
- Cabinet knobs: for cabinets, cupboards & drawers
- T bars: for cabinets, cupboards & drawers
- Pull handles: for cabinets & cupboards
- Drawer pulls: for drawers
In this example, From The Anvil’s Polished Nickel Judd cabinet knobs were selected to complement the blue tones of the paint.
7. Position your hardware.
Once you’ve selected your hardware, you can position it on your furniture. If you’re using multiple pieces of hardware on your furniture, ensure they align with one another so that your piece looks symmetrical.
Mark the position of each piece of hardware with a pencil. Then, use an electric drill to make a hole for the screws. just large enough to fit the fixing screws.

Above: using an electric drill to create holes for the hardware.
8. Fit your hardware.
With your furniture painted and your holes drilled, you can now fit your hardware. Insert the screws and tightly screw your hardware into place.

Above: fitting a Polished Nickel Judd cabinet knob to a drawer.
You can now sit back and enjoy your new furniture, styling it as you please.

We've shown you one example in this blog, but there are plenty of ways you can update your furniture to suit your style.
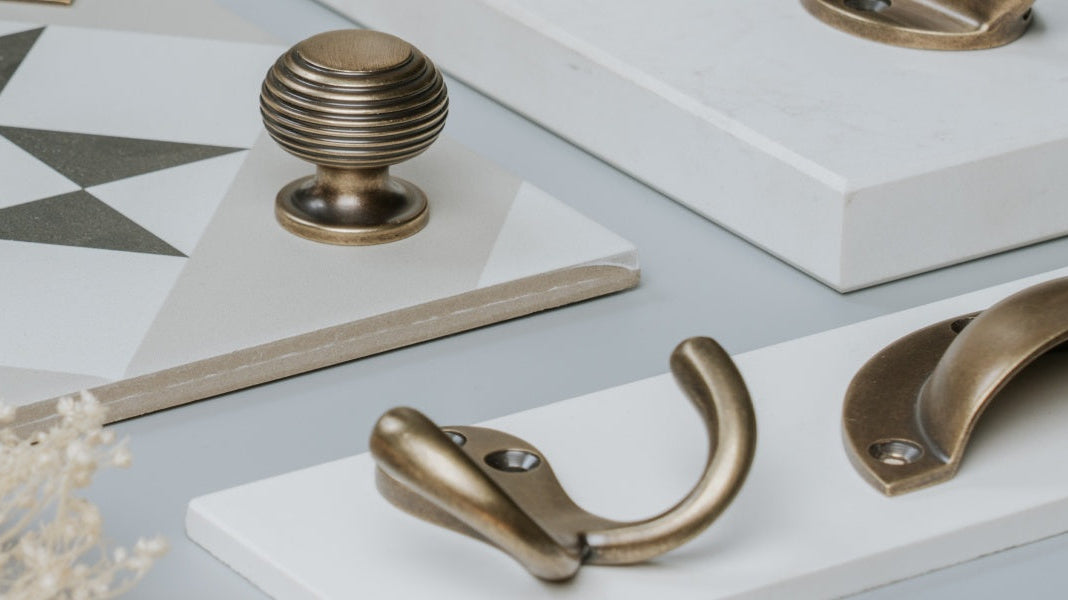
For example, try adding a luxurious feel to a kitchen by painting it neutral colours and using brass hardware, like From The Anvil's Aged Brass Beehive cabinet knobs.
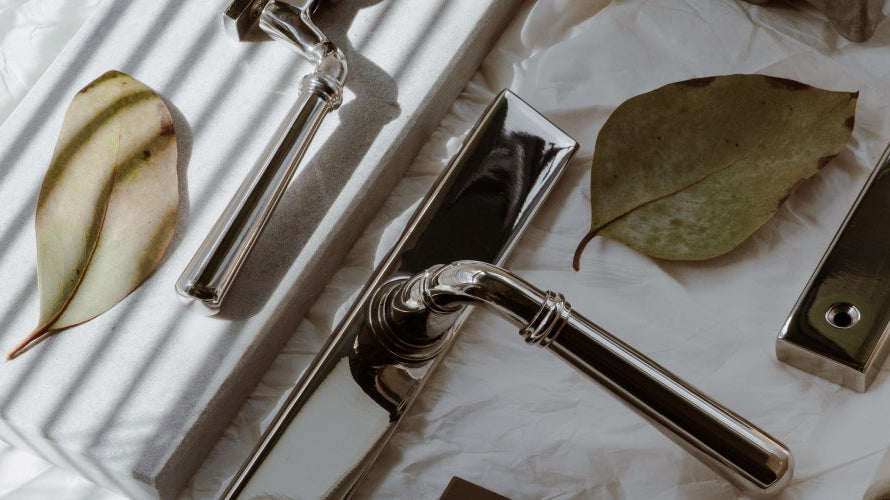
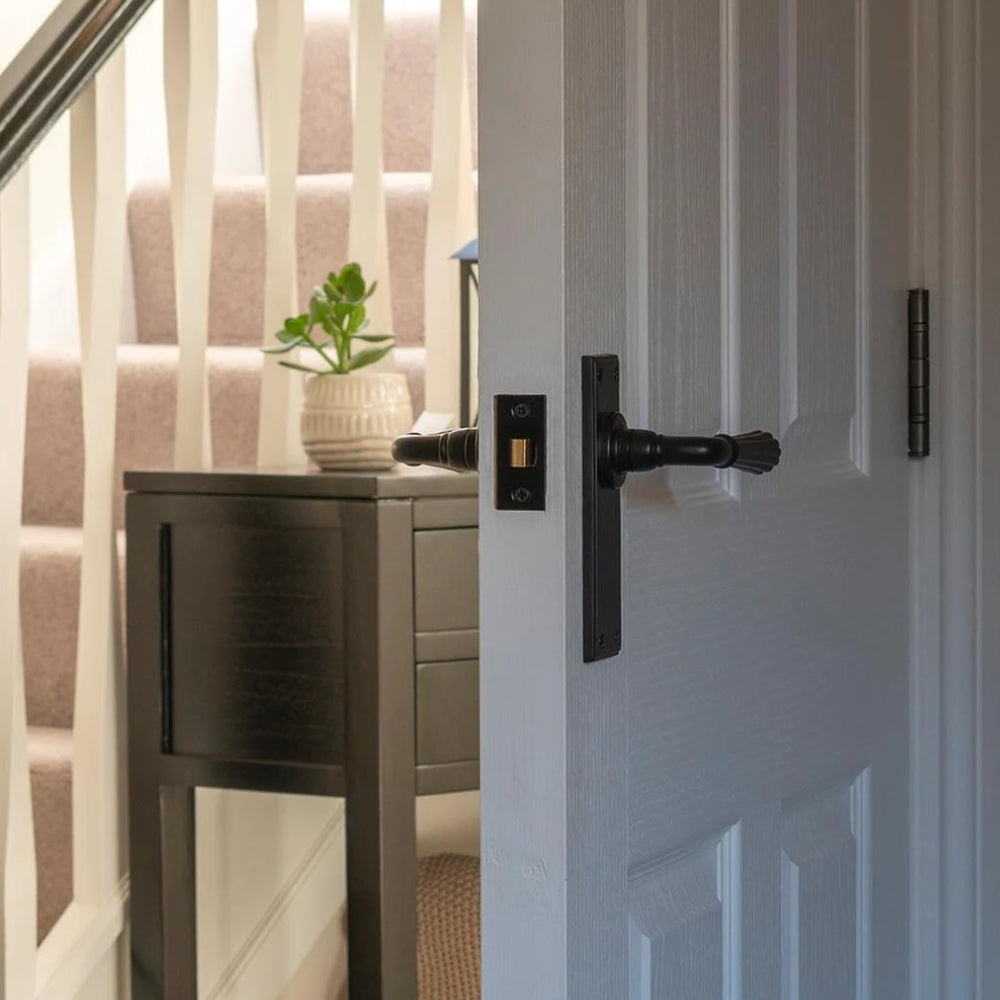
Or create a contemporary look by using a cool colour tone paired with knurled Brompton T bar pull handles in a modern Matt Black finish.
Discover the full collection of From The Anvil cabinet hardware here.
Or, learn more in our Modern Cabinet Hardware blog.